Exercise; The lighting angle

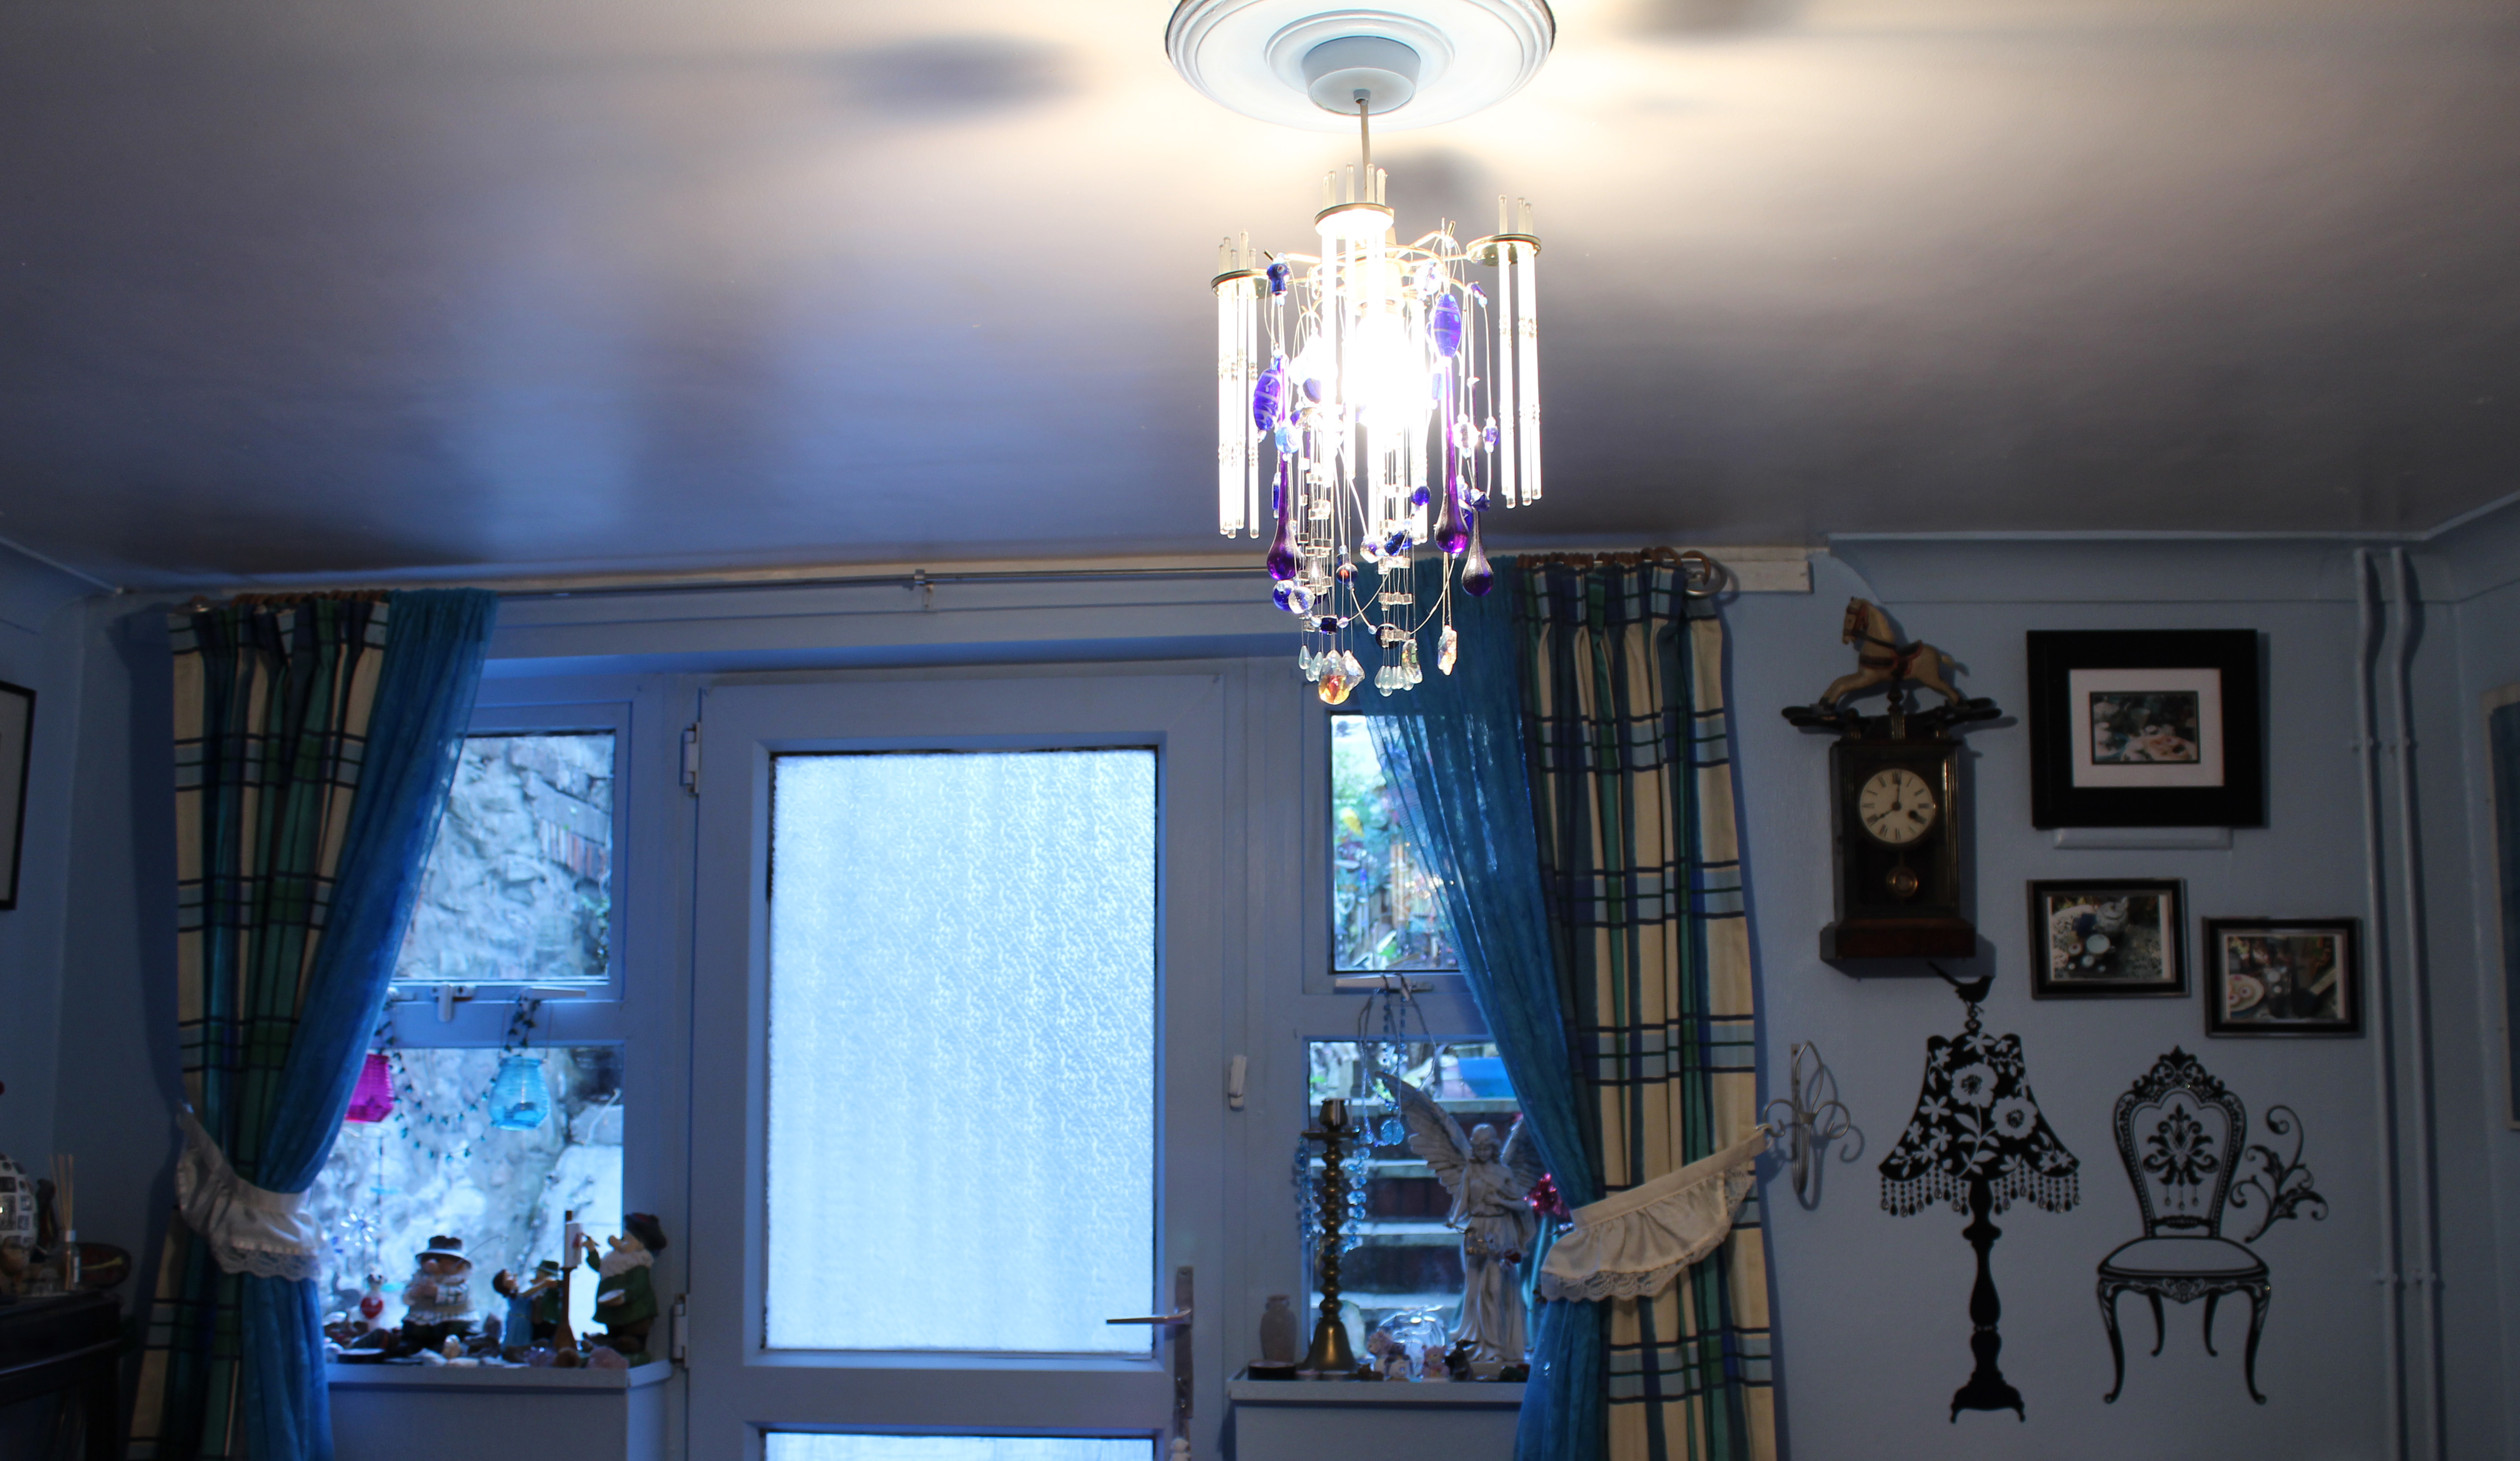
Once you have worked out a manageable system for diffusing a single light, you can now experiment with using it from different directions.

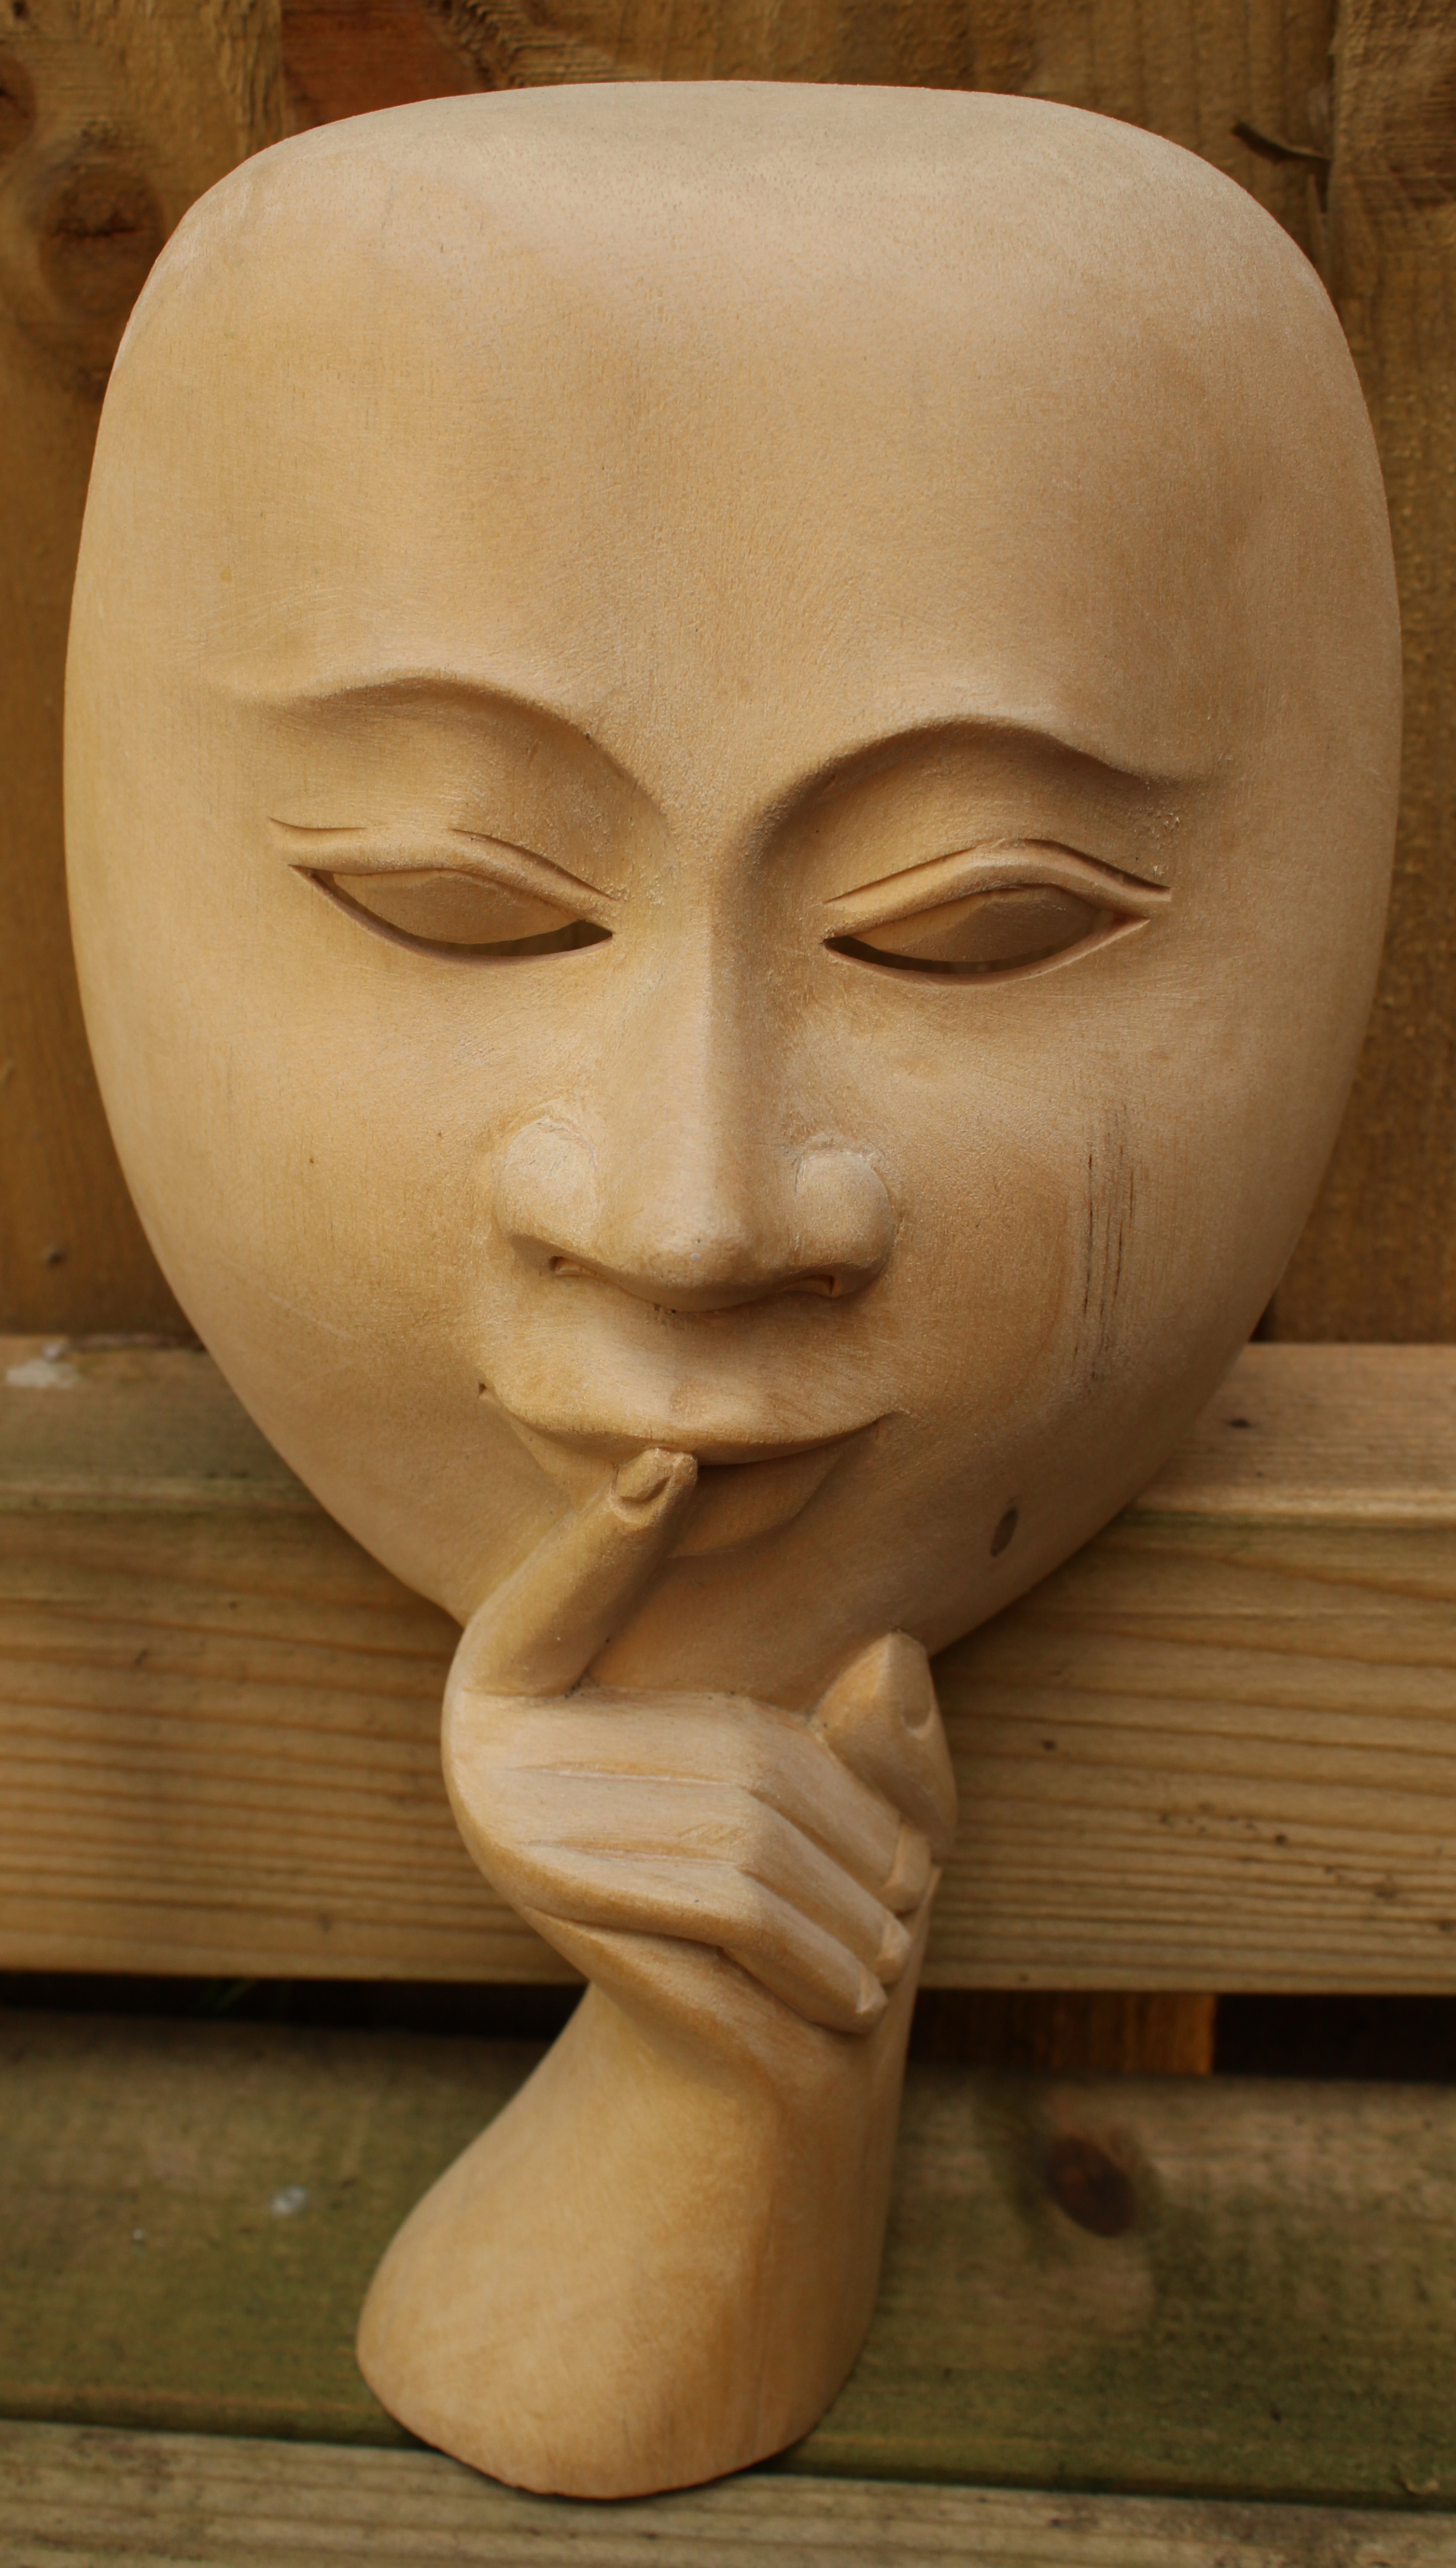
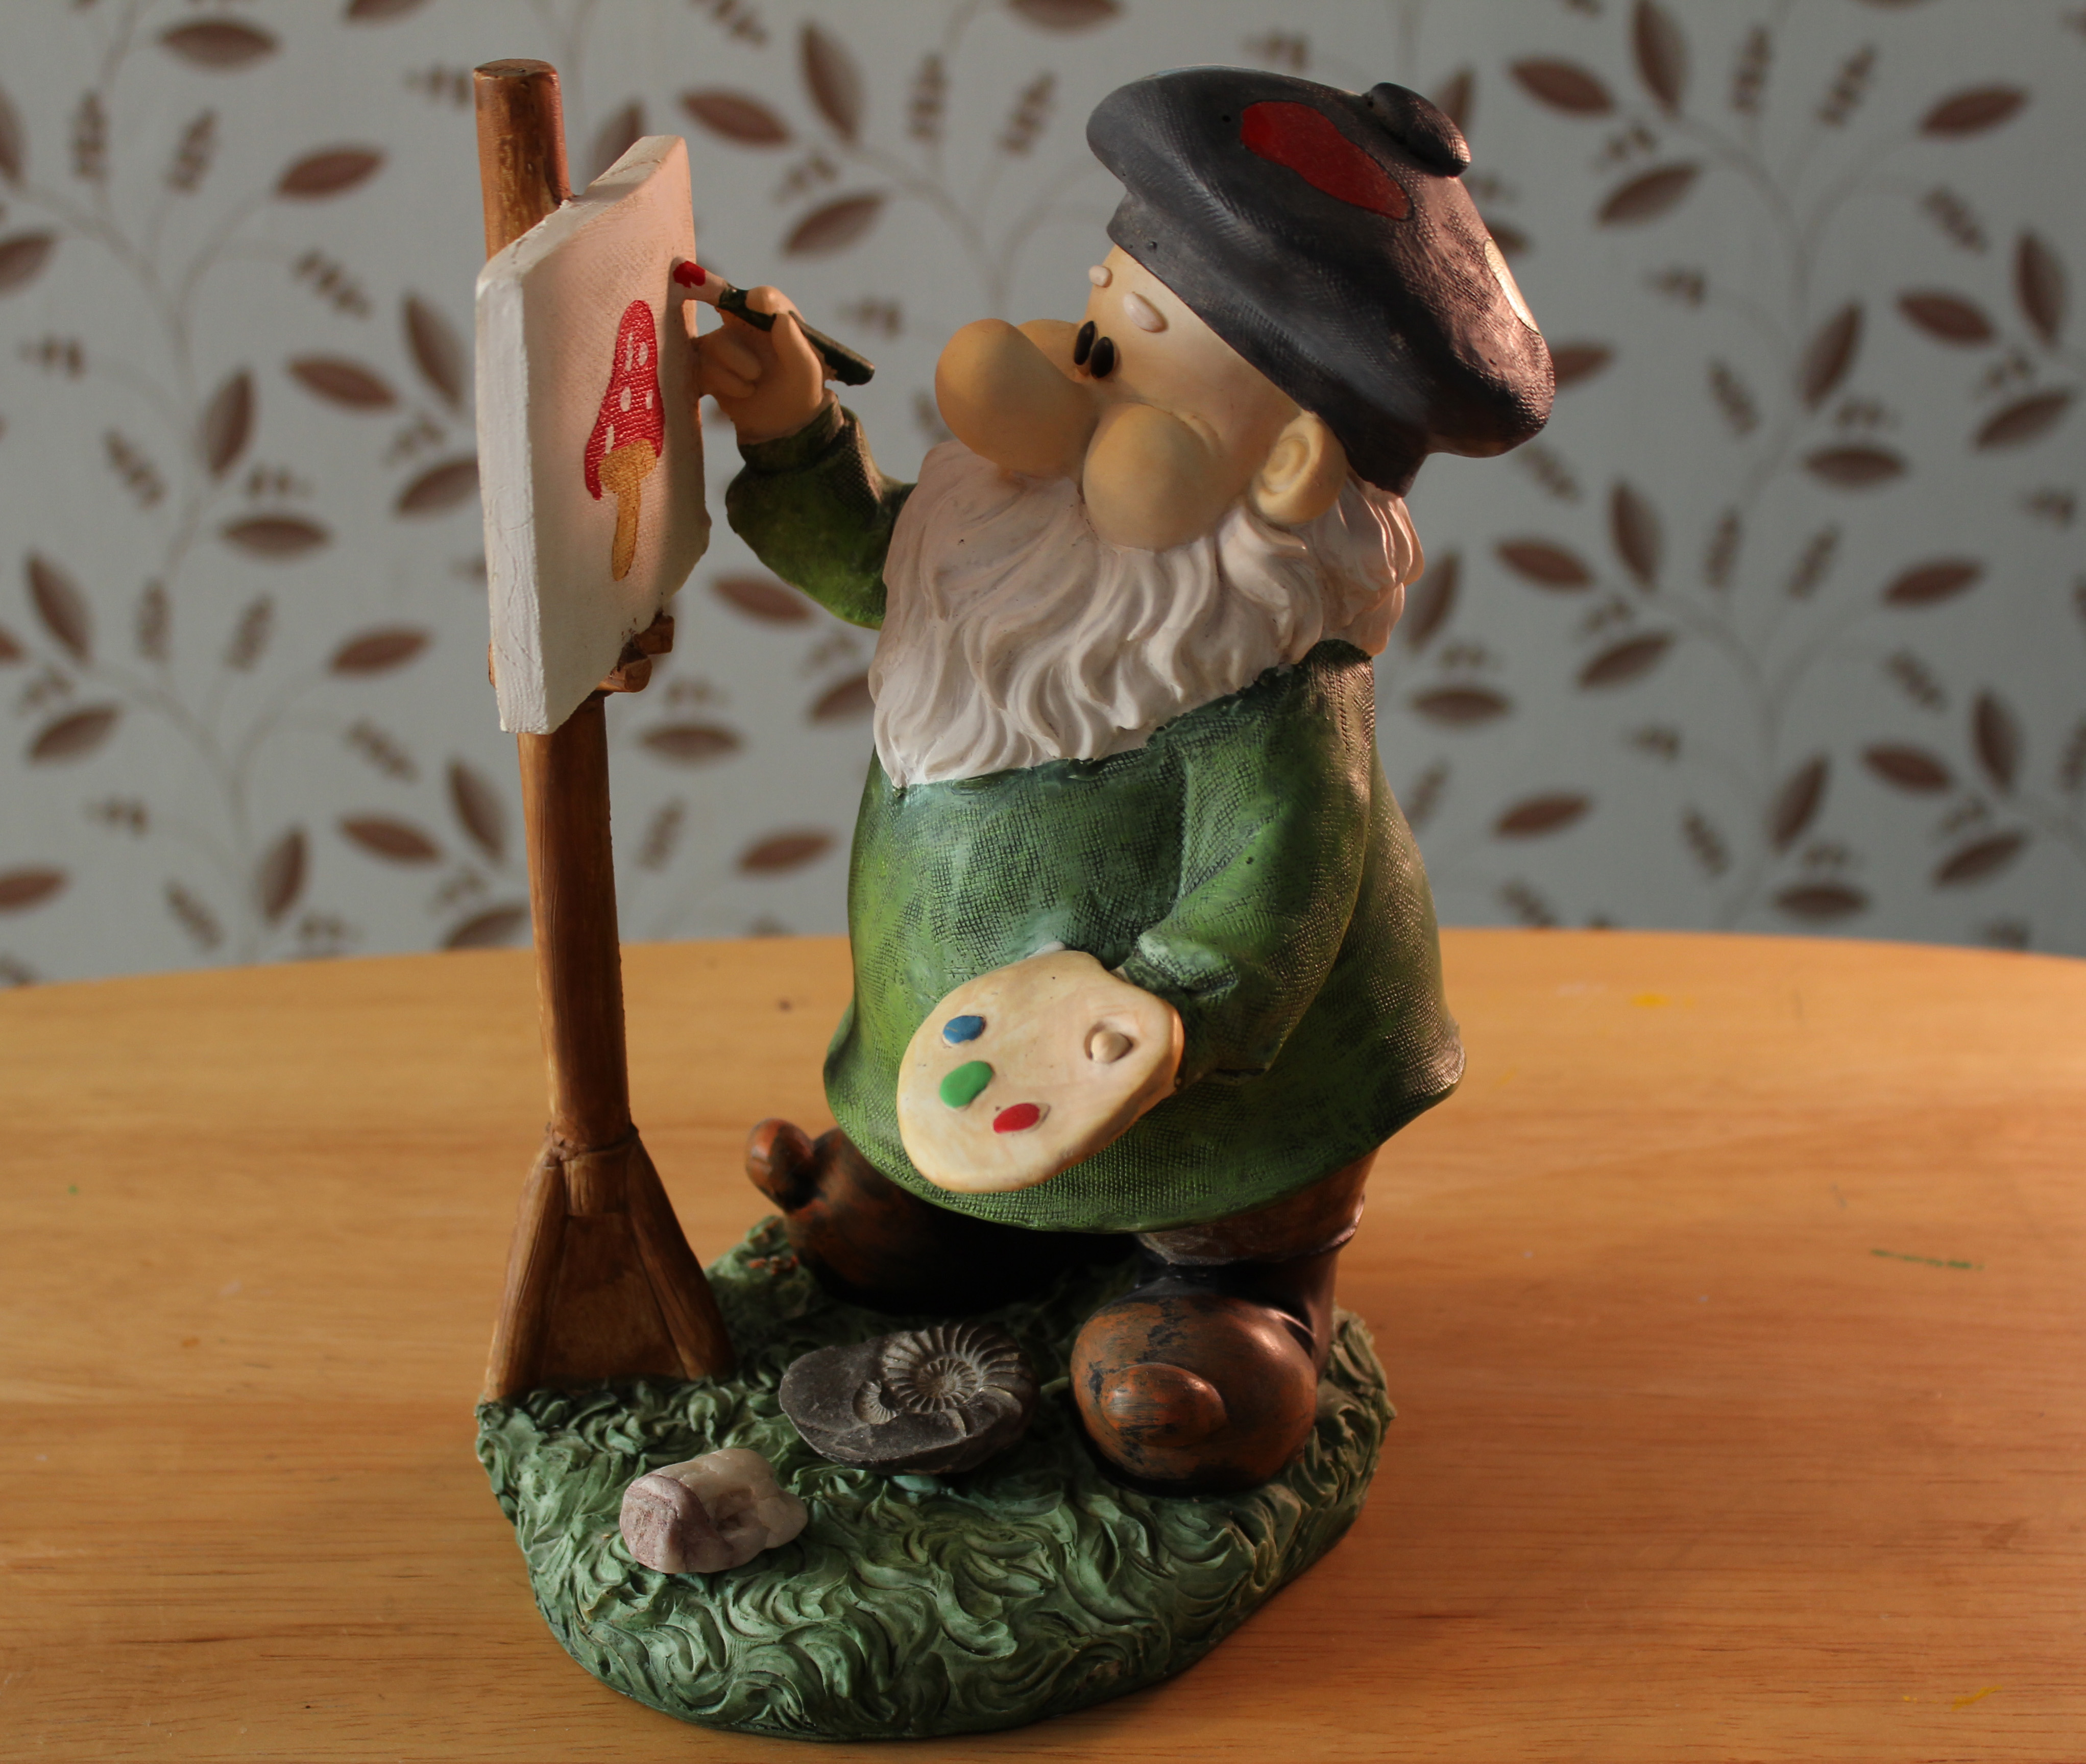
I decided to use the same figuring I used for the previous exercise.

I kept the camera on a tripod aimed horizontally at the subject.

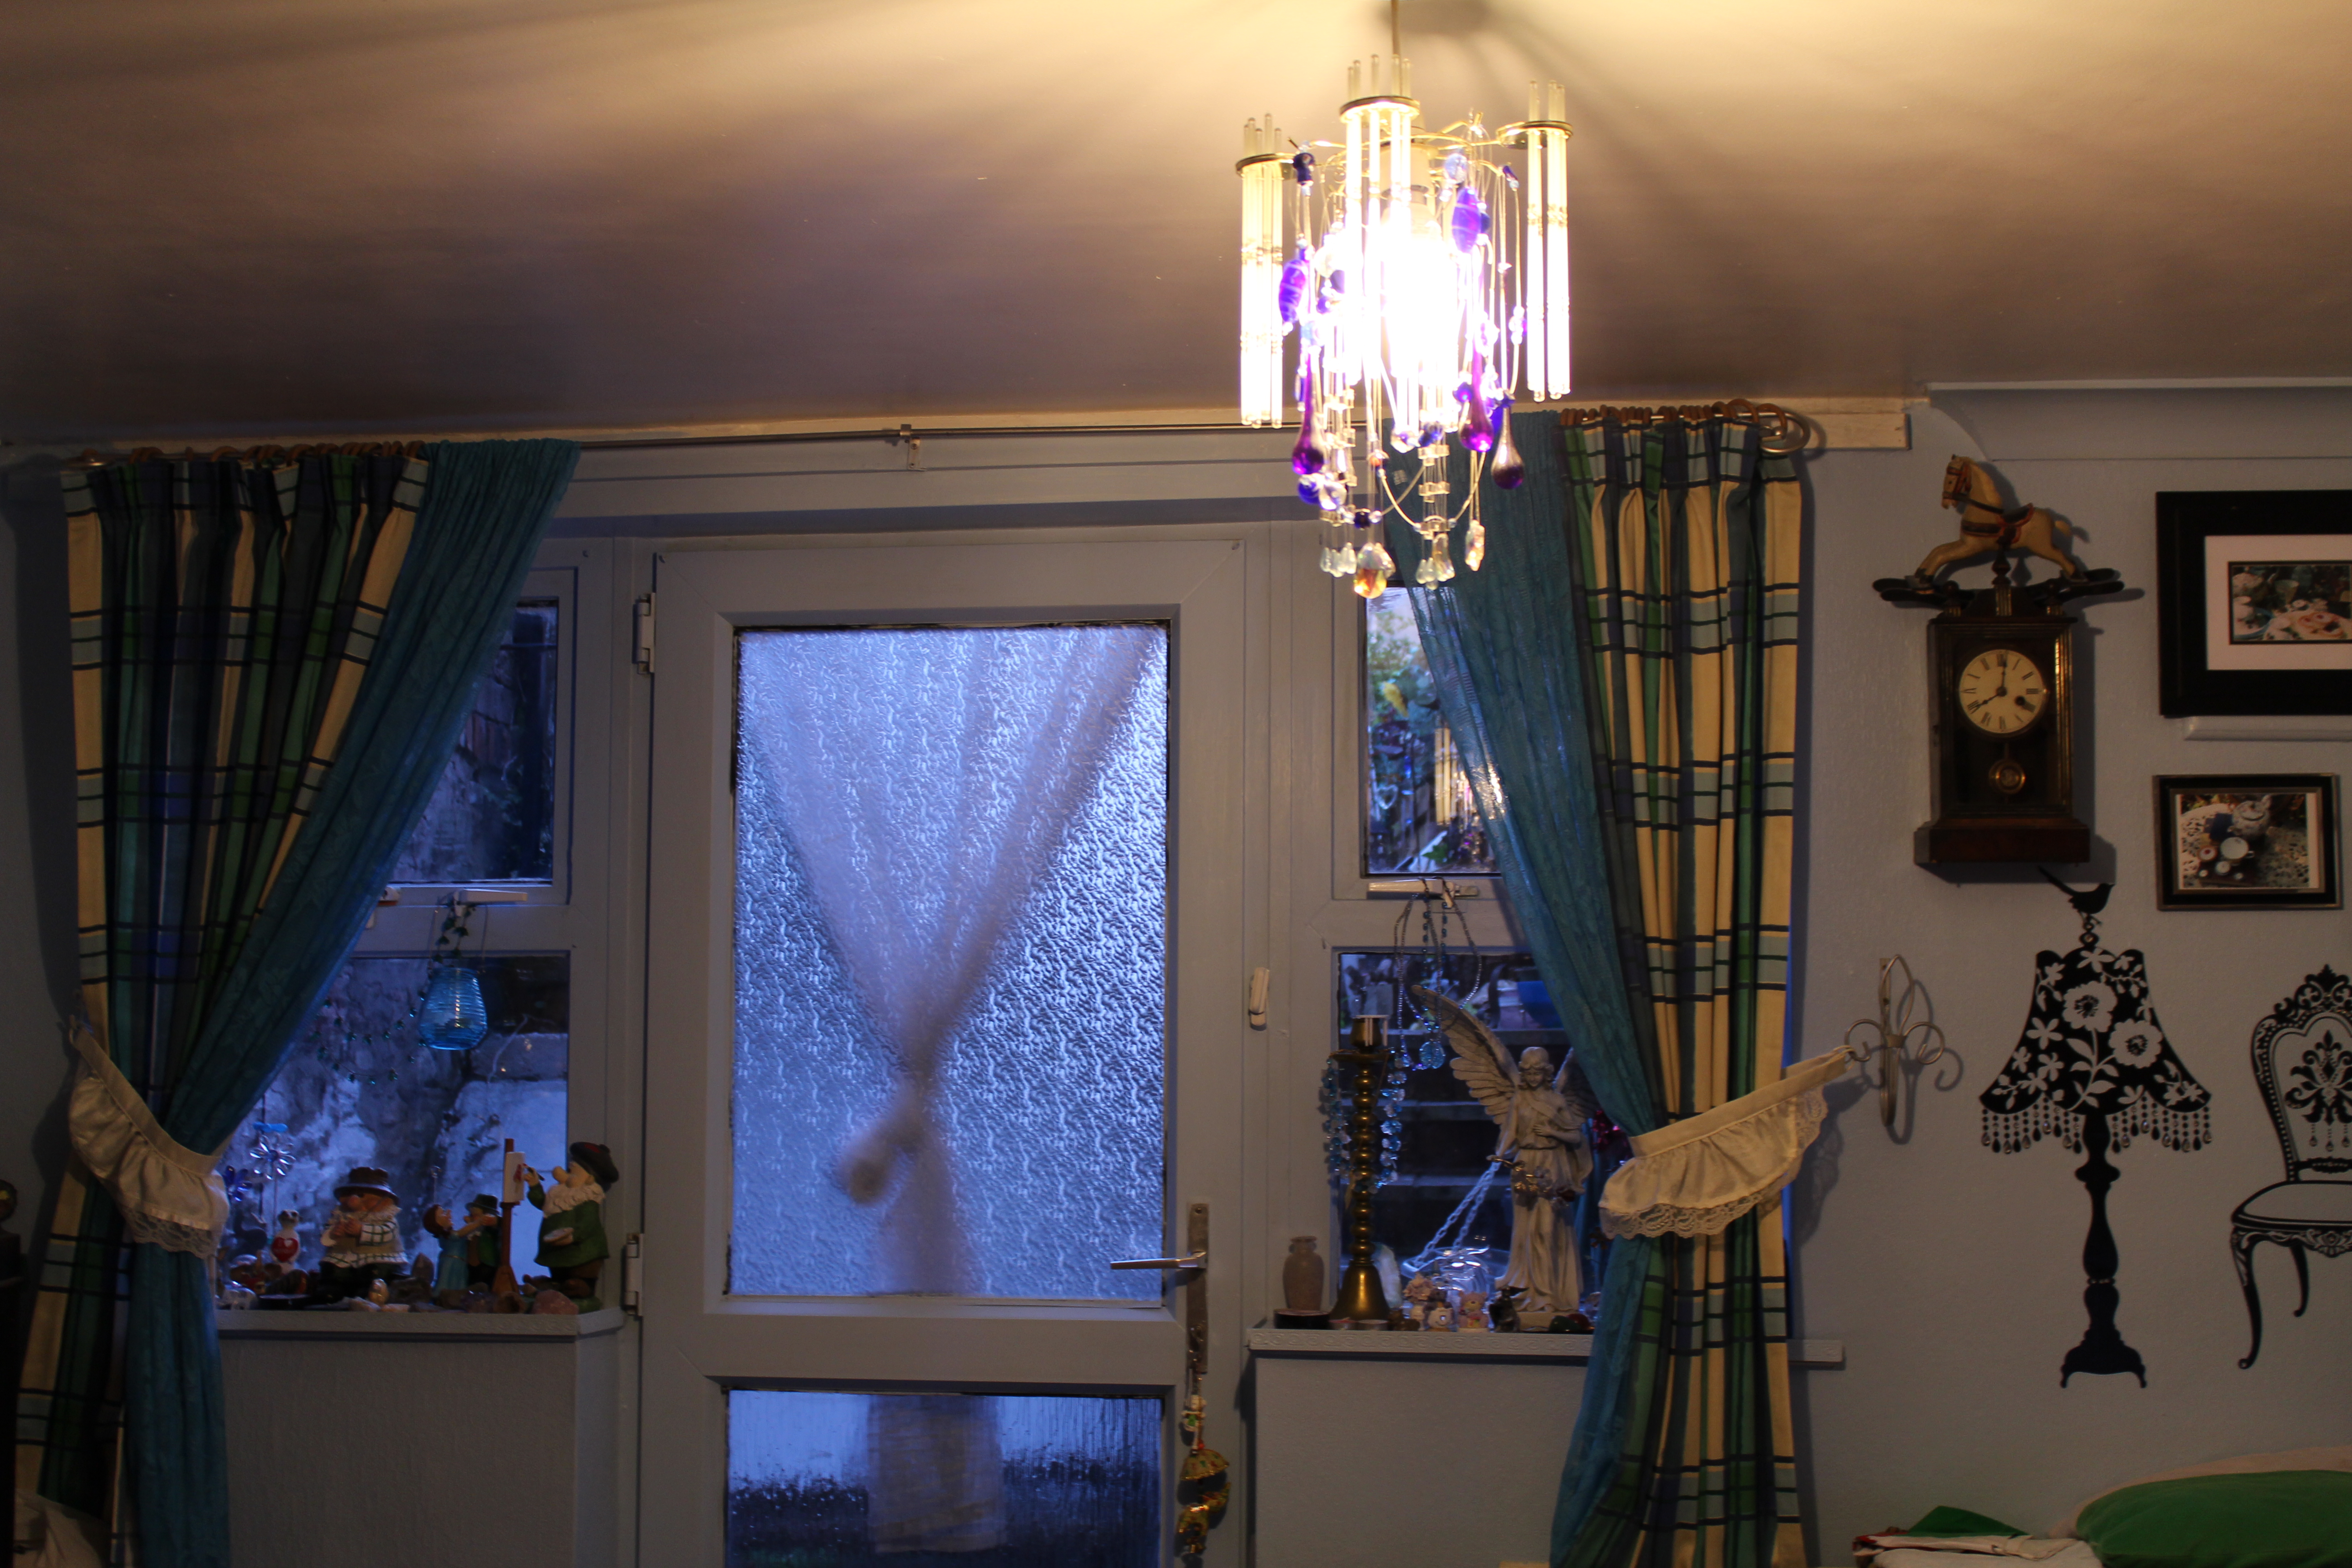
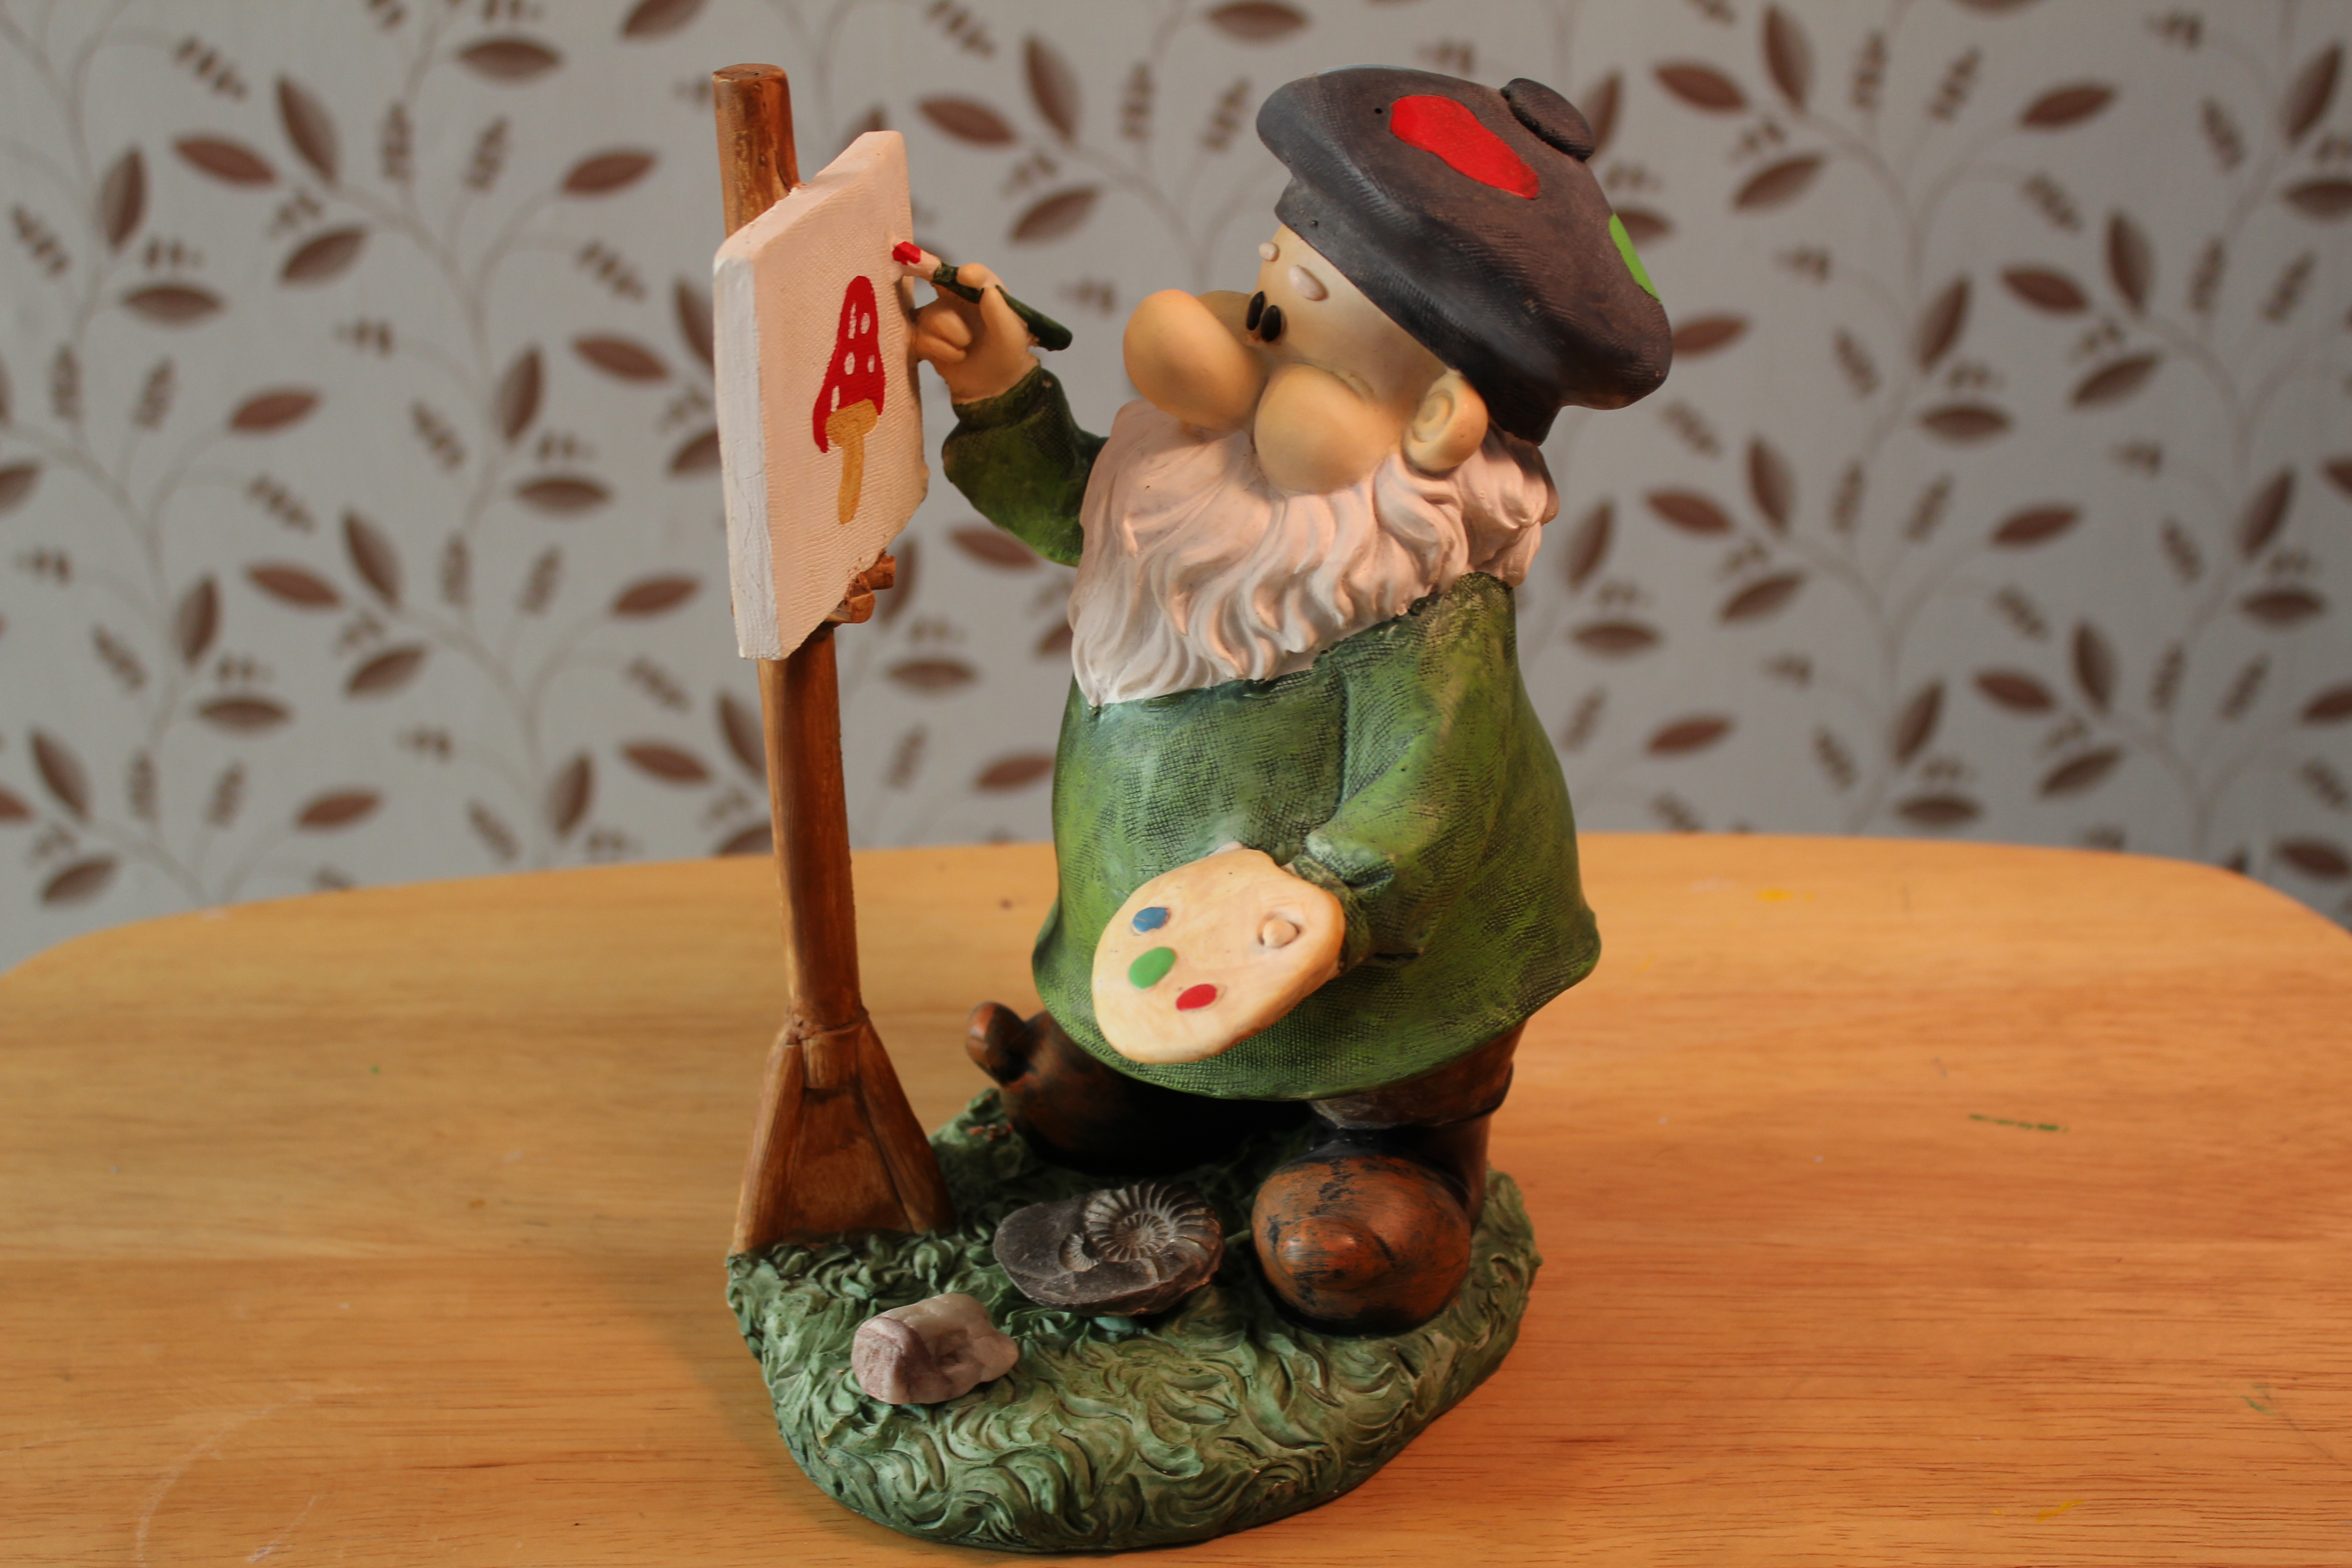
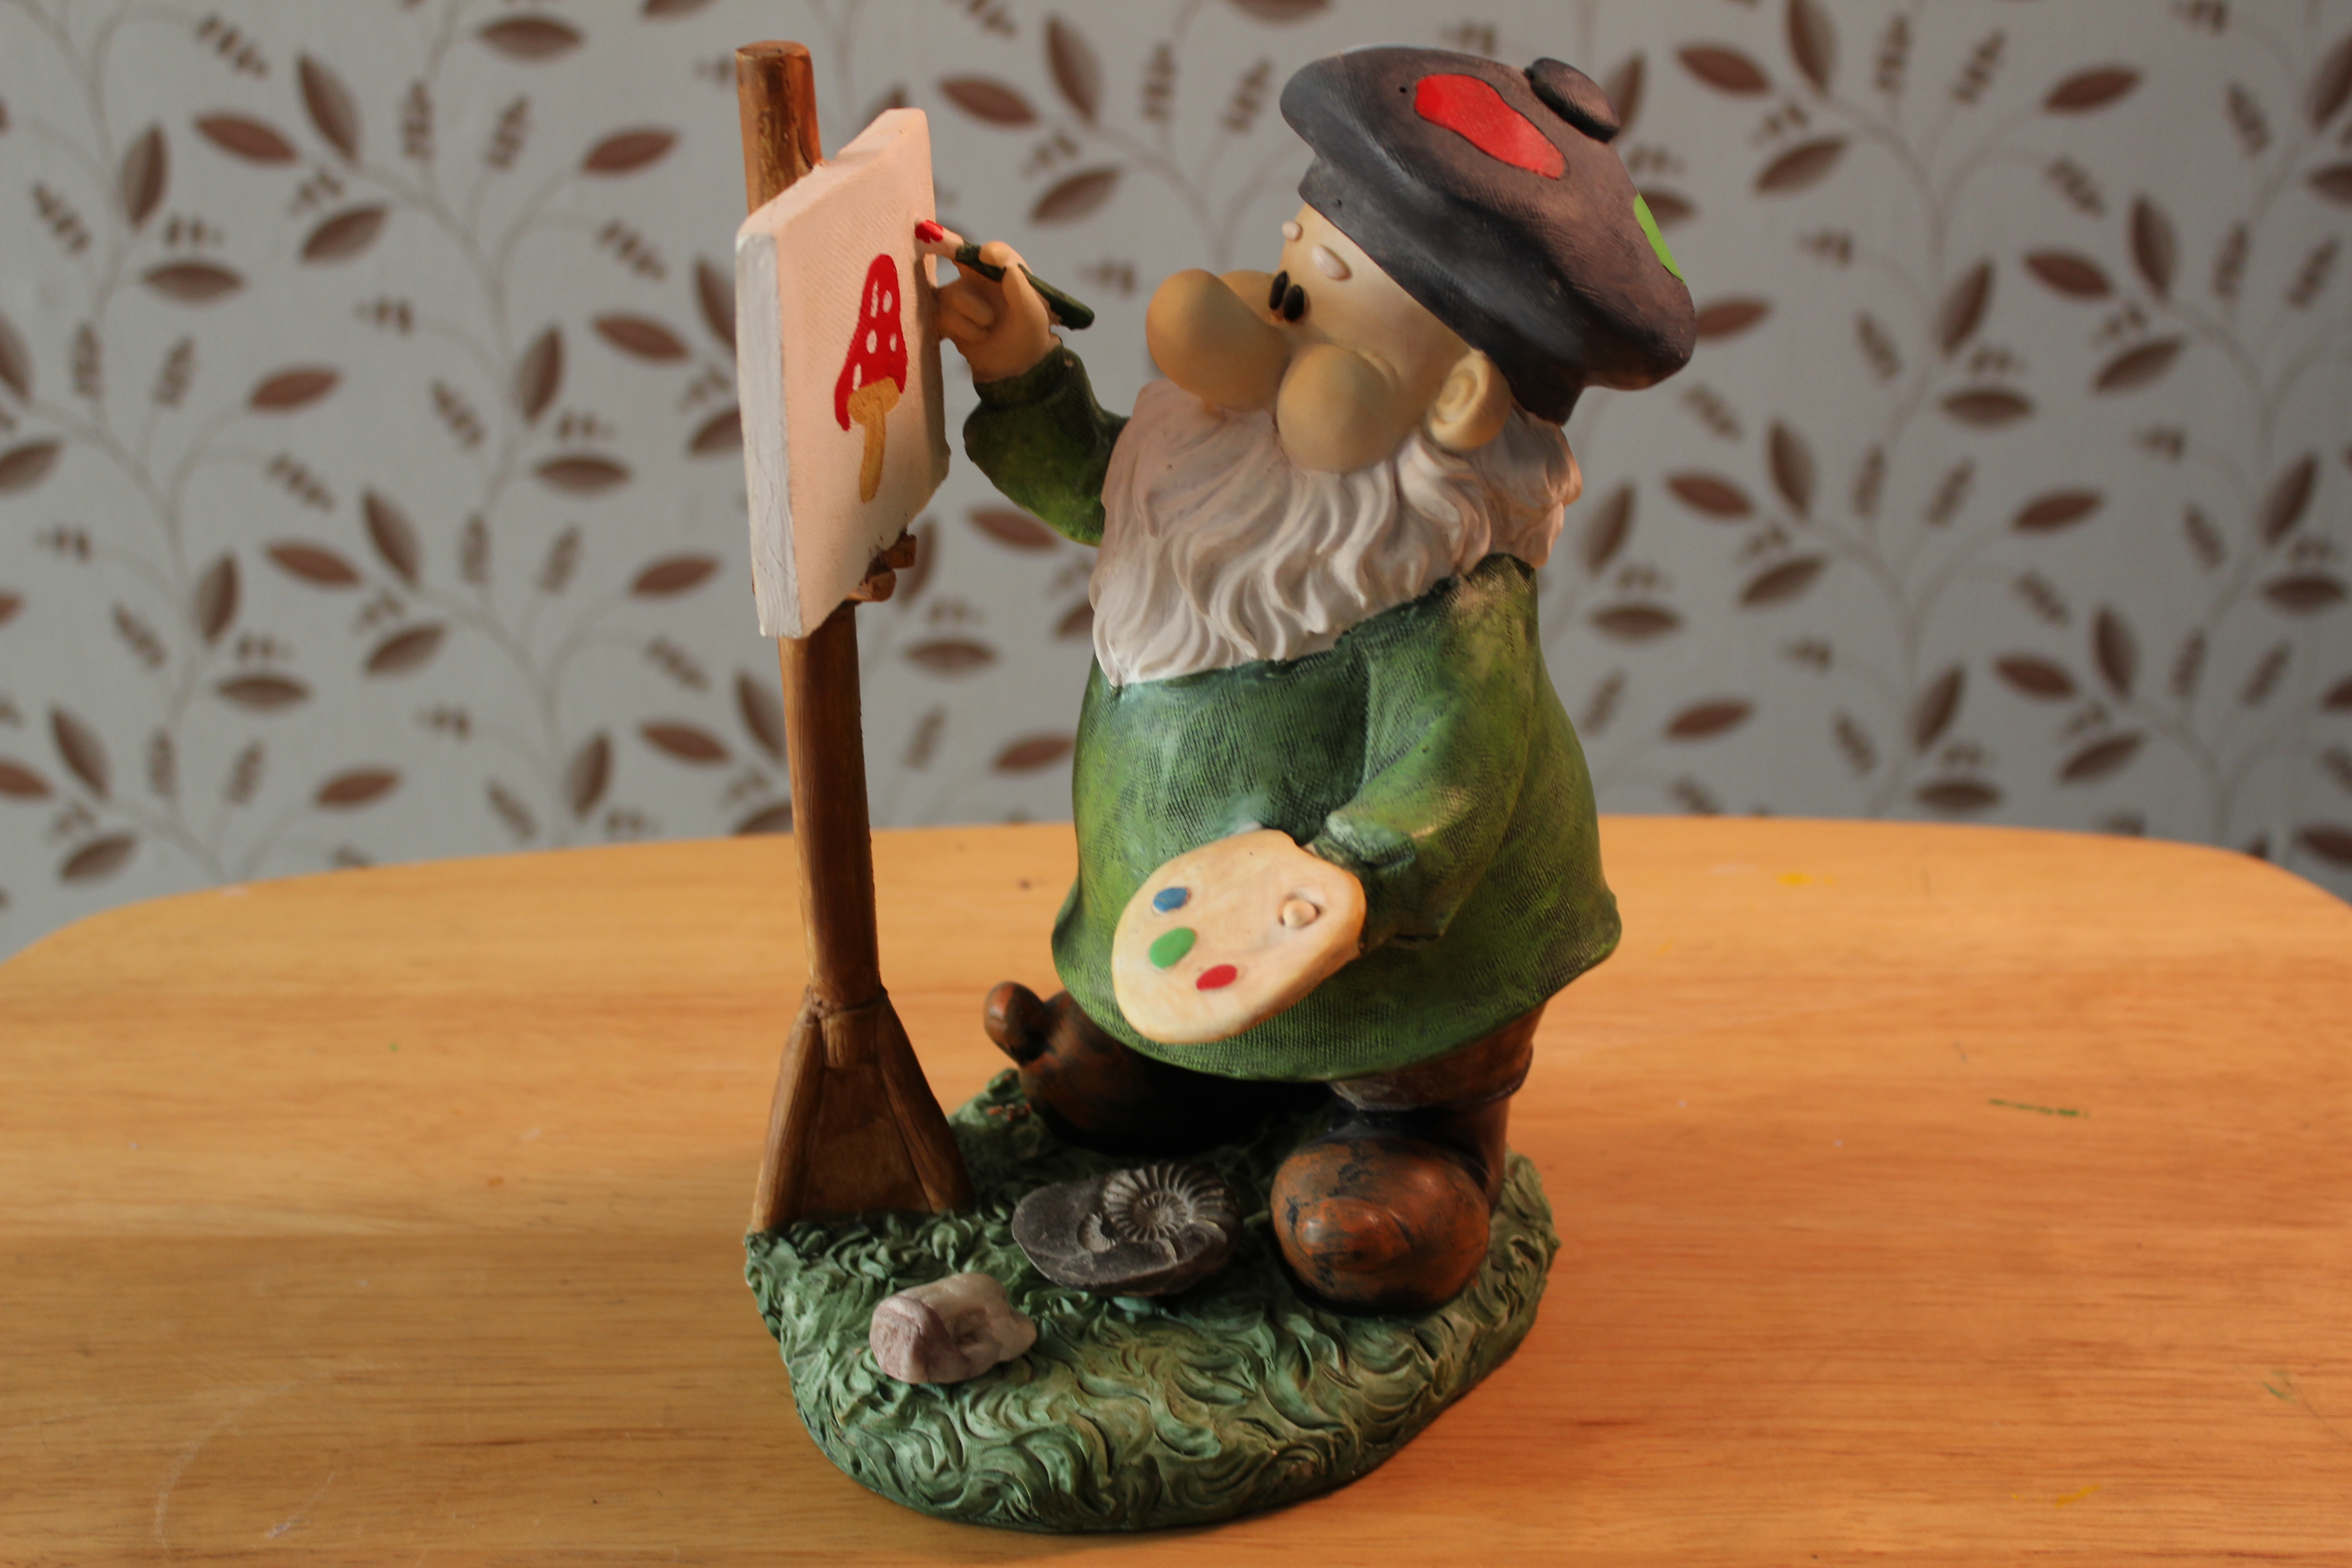
For the first set of images, the diffuser was fitted to the lamp. I then kept it at the same level as the subject and camera. I took the first image with it facing directly at the subject, second was to the side of the subject, the third was behind the subject whilst being off to the side, fourth was directly behind the subject but not in shot.

Light Directly In front: Light at same level

In front

Light To the side: Light at same level

Side

Light to the side and behind: Light at same level

Side behind

Light directly behind: Light at same level

IMG_9729

The next set of photographs were the same, however, the light was above the subject but pointed down at an angle of about 45 degrees.

Light suspended overhead facing the object

Infront

Light suspended to the side

To the side

Light suspended to the side, behind

Side behind

Light suspended directly behind object

directly behind

Exercise: Tungsten and Florescent Lighting

For this exercise, you had to find a room fairly lit by tungsten lights. If you have fluorescent lamps, turn them off. Wait until just after sunset, when there is only a little daylight left. With the curtains open, stand close to the window and look out for one minute, until your eyes become adjusted. Turn and look at the room light. Note what colour it seems to be the first instant you see it. When your eyes have adjusted to the room light. Quickly look out of the window once more. Note what colour the daylight seems to be.

You then had to measure the light level in the room with your cameras meter. Take several readings in different parts of the room, including close to the lamp and one in the darkest corner.

Compose a photograph in which both the interior lit by tungsten lamps and the exterior at dusk are both visible. Wait until the light levels inside and outside are approximately equal, and take three photographs, as follows: With the white balance set to auto, With the white balance set to daylight, With the white balance set to tungsten. Compare the results. What differences do you see.

For the second part of the exercise, you were asked to find two different interiors which are lit by fluorescent lamps. If at possible, try and find one interior which is lit by small CFL lamps.

Take two images of each room. One with white balance set to auto, and the other set to Fluorescent.

Part One:

After looking out the window for a while, and then turning back round into the room which were lit by tungsten lights, I noticed that the colour in the room was a orange/yellow colour. I then let my eyes adjust to the tungsten lighting, before then looking out the window. I noticed that the colour was a strong white with a hint of a blue colour tone to it.

I took several meter readings. The required ISO was 200 which I then set. I opened up the aperture to f/4. 5 . After reading the meter readings around the room, I set the shutter speed to 1/10

White Balance: Auto

Auto wb

White Balance: Daylight

daylight wb

White Balance: Tungsten

tungsten

White Balance: Fluorescent White

white fluorescent

Differences: The closets match to how the colours in the room are in real life, would have to be the image taken with the WB set to tungsten. The white balance set to Auto and Daylight, seem to be similar in both photographs.

Part Two:

One interior lit by CFL lights. I used the same room and just changed the light bulb from a tungsten bulb to a fluorescent bulb.

White Balance: Auto

IMG_9741

White Balance: Daylight

IMG_9742

White Balance: Tungsten

IMG_9744

White Balance: White Fluorescent

IMG_9745

Differences:

The white balance set to Auto and Daylight, seem to be similar in both photographs. However, the white balance set to White Fluorescent seems to be more realistic than any of the others. The colours in the room are near enough the same colour in the White Fluorescent WB photograph.

Exercise: Cloudy weather and Rain

Part One:

First part of this exercise, you will have to photograph the same view in sunlight and again under cloud. You can do this at different times or on different days. Choose two or three different subjects. Note the difference in exposures. Keep the White Balance set to Sunlight/Daylight.

Put the pairs of images together and see how many f/stops difference there was between the sunny and cloudy versions. Note if there is a colour difference in the photograph. You should be able to see that the cloudy shots will be slightly Bluer in colour.

First Pair:

Sunny F/5 ,  1/500, ISO 200

IMG_9396

Cloudy F/5.6 , 1/60, ISO 200

IMG_9519

The cloudy image appears more blue in colour, whereas the sunny image appears more orange in colour.

Second Pair:

Sunny F/5 , 1/250, ISO 100

IMG_9167

Cloudy F/5 , 1/500, ISO 100

IMG_9243

Third Pair:

Sunny f/4.5 , 1/100, ISO 200

IMG_9068

Cloudy F/5 , 1/40, ISO 200

IMG_9518

Even though the first image of the lamp was taken in the sunlight, I believe that this is the image which is more Blue in colour. The image taken in cloud appears less blue in colour.

Fourth Pair:

Sunny f/9 , 1/200, ISO 100

IMG_9386

Cloudy F/8 , 1/160, ISO 100

IMG_9497

The image taken in the cloud appears more blue in colour.

Part Two:

For the second part of this exercise, take three photographs outdoors, on an overcast day. Make good use of enveloping and shadow less light. Look for an object with strong detail or a strong colour.

IMG_9245

IMG_9404

Part Three:

For the third part of the exercise, you will need rain. Rain can produce more interesting visual effects, glistening pavements, lots of reflections, patterns of raindrops on glass and even rainbows. Go out and photograph rain!!

IMG_9498

IMG_9506

IMG_9508

DSCF3260

IMG_9511

IMG_9513

IMG_9521

IMG_9499

IMG_9524

IMG_9523

IMG_9692

IMG_9688

IMG_9695

Exercise: Variety with a low sun

This exercise is used to demonstrate some of the advantages of shooting when the sun is low. Obviously, there is no sudden moment in the day when the sunlight switches between low and high, but as a guide, the sun is low within about two hours of sunrise and sunset, except in winter when it stays low for much of the day.

You can choose any subjects for this project, but they must be in sunlight. Take as many pictures as possible, but aim to produce at least 4 as a final result.

  • Frontal Lighting: With the sun behind the camera, striking the subject fully. The lighting effect should appear intense, and any shiny parts of the subject will reflect the sun.
  • Side Lighting: With the sun to the left or right. More or less, half of the subject will be lit, and half will be in shadow.
  • Back Lighting: Shoot towards the sun light. Depending on whether the sun is in view or hidden behind the subject, the exposure may be difficult to predict.
  • Edge Lighting: This is a special condition for shooting towards the sun, in which the sun is outside the viewfinder frame and the edge of the subject is lit. This is not a common type of lighting and you may have to work hard to find it. If you choose a small or moveable subject, you could move it into position against a shaded backdrop because a dark background shows up rim lighting more clearly.

For this exercise, I decided to use the same wooden model I used for the exercise ‘Colour Temperature’ as I would be able to move it around in order to achieve the desired lighting effect.

Frontal Lighting:

frontal lighting

This was taken with the sun behind me. The book tells you that when the sun strikes the subject fully, the lighting should appear intense and any shiny parts should reflect the sun. With this, the lighting is intense, its very bright. The smooth sections of the model reflect the sunlight more, making them appear more brighter in places.

Side Lighting:

side lighting

I turned the model so the sun was on its left hand side. Half of the subject has been lit with sunlight, and the other half is in shadow. It said that you should be aware of over exposure, however, I think this has managed to sort the exposure out itself.

Back Lighting:

back lighting

Back lighting was harder to do as I had to turn the model away from the sun whilst climbing around a table to try and photograph the model. I prefer the colour temperature of this image. The subject isn’t too light and isn’t too dark, unlike the previous two. I should have also re focused on the face as it is a little bit blurred.

Edge Lighting:

edge lighting

Side lighting was also difficult to do, I had to move the object into the shade by my steps, and try to position it with the sun not on the object but shining on the step, but at the same time, I needed to keep some of the sun near the edge of the object. This image is a lot similar to the Side Lighting image.

Exercise: Light through the day

You are going to take a very detailed look at what happens to a view as the sun moves, and when the sun is close to the horizon, it can bring a surprising urgency even to landscape photography. The brighter and clearer the weather, the more definite you will find the changes in the light, and so the more successful the exercise will be.

You will need a sunny day for this exercise, or else sun at different times on different days. You are going to photograph one scene from dawn to dusk. The number of pictures you take will depend on the time of year. But try and get at least one per hour, and more at the end of the day when the light is changing faster.

Find a landscape location with a fairly definite subject that will catch the sunlight even when the sun is close to the horizon. It needs to offer a good, clear view that is lit throughout the day, containing an isolated building, perhaps, but convenient to reach, as you will need to keep going back to the exact same spot.

First, make a reconnaissance of the scene, and arrive ready for photography earlier than necessary. One of the things that you should learn from this exercise is that you can anticipate the movement of light and shadows to some extent, and yet there is often an element of unpredictability.

I decided to go to a beach about 40 mins away where a friend lives. I knew it would be secluded and I would be able to get a perfect spot sat on the beach, away from other people walking past my camera. I set off just after 8am as the cloud was low in the sky and there was no sun at all. I honestly thought it was going to rain and I would have to abandon this exercise before I even left the house. But I thought, No,  go and do it because the forecast for the rest of the week was rain, rain and more rain. I set off at 8am and by time I got to the beach and set up with all my junk, the first photograph I took was roughly 9:20am. The sun was just beginning to show itself, so technically I arrived just in time. I then took the rest of the photographs roughly every 1hour so every 20past the hour I took a photograph. At 15:20pm, I unfortunately had to move from the spot I was sat in since 9am, as I was getting extremely sunburnt and needed to sit on a bench, you can see that I still focused on the same spot but I am at a more higher location compared to being sat on the beach itself. At 18:20pm, I had to move again as the pain from the sunburn became too much. I walked down to my friends house and left all my junk at her house. I kept going out to the beach every 20 or 30 mins as the lighting and sun was changing. Around 20:00 hours, I couldn’t take any more, the sun wasn’t set to go down until near on 22:00 hours, and being as sunburnt and hungry as I was, I needed to get home, therefore, my last photograph was about 19:45pm. Below are the images I took.

IMG_9526

09:20am

IMG_9530

10:20am

IMG_9533

11:20am

IMG_9538

12:20pm

IMG_9542

13:20pm

IMG_9547

14:20pm

IMG_9561

15:20pm

IMG_9567

16:20pm

IMG_9576

17:20pm

IMG_9585

18:20pm

IMG_9599

18:51pm

IMG_9636

19:12pm

IMG_9648

19:45pm

I have three favourite photographs, I like the photograph taken at 10:20am because I love the bright blue sky contrast against the sand.  The second is taken at 16:20pm as this shows just how sunny and hot the weather was. The last photograph I like is taken at 19:12pm. The sun was beginning to hide behind the clouds, the sun is becoming a lovely pale blue colour.

I did enjoy myself doing this exercise, mainly because I was sat on a beautiful beach all day, although I most certainly paid for it as I am now extremely burnt 😦 ouch.

993780_10151653138547412_83722510_n

Exercise: Judging Colour Temperature. Part Two

White Balance:

Digital camera’s have a way of dealing with differences in colour temperature built into the cameras operating system. This is ‘White Balance’, which adjusts the overall colour of the images so that the very brightest parts of the scene are recorded as pure white, without a colour tinge.

Most cameras have a choice of settings that include Daylight, Cloudy, Tungsten and Fluorescent, and also an automatic mode. Some cameras allow you to set the white balance (WB) yourself.

There may be some confusion with WB. Its natural to describe reddish colours as ‘warm’ and the Blueish tones as ‘Cool’, whereas the colour temperatures are in fact the opposite. Blue is a ‘Higher’ colour temperature than red. Beware if you use these words, you are talking about the general visual effect, and not the colour temperature.

Conventionally, sunrise and sunset views are left alone and unfiltered, because most people find them attractive. On the other hand, photographs taken completely in blue shade do look wrong to most people unless the colour has been corrected.


Exercise:

For this exercise, you will decided what correction a scene needs, if any at all.

You were asked to look at the last three photographs you took for the previous exercise. Take a similar situation as the previous one.  I decided to use the same subject.

You then had to take Nine photographs. These will be split into Three’s. For each Three, you were asked to vary the camera’s white balance setting.

  • Three photographs: Taken with the Daylight setting.
  • Three photographs: Taken with the Shade setting.
  • Three photographs: Taken with the Auto setting.

You then had to compare the three versions for each. What differences do you notice? Which white balance setting do you prefer for each of the three lighting conditions?

  • Set One:

sunlight

WB: Sunlight

shade

WB: Shade

auto

WB: Auto

  • Set Two:

sunlight shade

WB: Sunlight

shade shade

WB: Shade

auto shade

WB: Auto

  • Set Three:

Daylight

WB: Sunlight

Shade

WB: Shade

Auto

WB: Auto

For all three sets of photographs, I prefer the white balance set to Sunlight. It helps define the subjects details unlike when set to Auto. It gives the subject an overall warm colour, not too dark like when set to Shade, and not too light like when set to Auto. From now on, I will remember that setting your white balance to Sunlight will help your photograph.

Exercise: Measuring Exposure Part Two

For this exercise, you were asked to produce 5-6 photographs of any subjects. Each subject, you were asked to make five exposures of. You firstly needed to find out what the average exposure for the subject was. You then arranged the exposures around this. The first should be one stop darker, the second should be half a stop darker, then the third image should be the average image, the fourth should be half a stop lighter and the fifth should be one stop lighter.

You were then advised to look at the average exposure image and see if it was as you would expect. You then had to look at the other exposed images to see if any others were acceptable.

One: Dark to Light

dark

less dark

average

less light

light

I am pleased with the average exposed image as it does show how the plant looked when I photographed it, however, I am pleased with the image which was taken a half stop darker. I believe that the half stop darker image shows a lot more detail on the flower itself than with the average exposed image.

less dark

Two: Dark to Light

dark tree

less dark tree

average tree

less light tree

light tree

I am also pleased with the average exposed image as it does show how the tree looked when I photographed it, however, I am pleased with the image which was taken a half stop darker and one stop darker. I believe that the half stop darker image shows a lot more detail on the tree however, I also like the one stop darker image as well.

less dark tree

Three: Dark to Light

dark

dark2

average

light

light2

Im pleased with the average exposed image as it does show how the plant looked when I photographed it, however, I am pleased with the image which was taken a half stop darker. I believe that the half stop darker image shows a lot more detail on the plant and the surrounding leaves.

dark2

Four: Dark to Light

dark

less dark

average

less light

light

Im pleased with the average exposed image, however, I am pleased with the image which was taken a half stop lighter.

less light

Exercise: Measuring Exposure Part One

Part One:

For this exercise, you were asked to produce 4-6 photographs. They were to be deliberately, either lighter or darker than average and say why you chose this final outcome.

Darker:

Darkened

I took this photograph when it was a really sunny day. I decided to darken the tree to make it look spooky.  As the sun was shining straight onto the tree, I’m pleased that I managed to keep the shine on the tree branches which were caused by the sunlight. It makes the tree look almost skeletal.

IMG_9002

I made the most of the bright sunlight when it was out. I took these beautiful flowers and placed them directly into the sunlight. The light was shining straight onto them, so I decided to darken the image. I wanted to show the bold orange colour they were whilst keeping the image light enough, the sunlight definitely helped me do this, as when I attempted to photograph them out of the sunlight, the flowers were not as bold orange as they are in this image.

Lighter:

IMG_9069

I have this really old rusty lamp hung up in the garden. I decided to lighten the image as I wanted to show the detail on the lamp. My first choice was to darken the image, however, in my opinion it didn’t work as well as lightening the image. I was unable to see any detail which is what I wanted.

IMG_9102

The sun was shining lovely on the plant, however, the flower itself was hanging in a partial shade patch, so I decided to lighten the image in order to make the bright pink colour of the flower stand out a lot more as the flower is beautiful.

The intensity of light

Between dawn and dusk, brightness varies. The sun seems brighter when it is higher in the sky, while at sunrise and sunsets, sunlight has to pass through thicker layers of atmosphere.

Clouds, haze and mist darken it. In the shade or indoors, there is usually much less light. To most people these variations are of little importance because our eyes adapt easily from light to dark condition. But for photographers the exact brightness is crucially important.

First, we need a simple method of measuring brightness and a scale on which to map the results. Nowadays, all cameras have a built-in light meter, and by default it automatically adjusts to exposure given to the sensor or film, to match the brightness of the scene.

Most camera display this information in the two units that are useful for photography, shutter speed, and aperture, in the form of a fraction of a second, and an F-Number.

The starting point is the sensitivity that the camera is set to, and the measurement for this is an ISO number. This measurement of sensitivity to light was taken over from film, and a ‘normal’ sensitivity, adequate for shooting in normally bright daylight, is in the region of ISO 100-200. More sensitive settings are higher numbers than these, and can reach several or many thousands in professional cameras.

Some digital camera can display the exposure in the form of a graph called a Histogram. You can also find these on image editing programmes such as Photoshop.

If you were to take meter readings for the same outdoor scene throughout one day, you would see that the brightness increases during the morning, then levels off. This is because the light does not go on increasing as the sun rises. Once the sun reaches 40 degrees above the horizon, this is as bright as it will ever be. The brightness with then decrease towards sunset and night.

Part Four, Light

Natural Light :

The amount of light determines how a photograph can be taken, and whether the photograph can be taken at all. The sensors in camera’s are designed to work optimally in normal daylight, just like most films.

At lower light levels, such as indoors or artificial lighting, the sensors can be set to be more sensitive. This means a higher ISO can be selected. With film, you can choose faster, more sensitive films if you need to shoot with lower lighting conditions. However, there are consequences, in the case of the digital image, it will be more noisy, with the film, it will be more grainy.

To avoid this, the alternatives are to widen the aperture and lower the shutter speed. This has effects on the depth of field and how sharply motion is captured.

The quality of light can also make an essential difference to a picture. It is often the one element than can change significantly in a view. Appreciating the quality of light and knowing how to choose it or control it is a major step in improving your photography.

Before I began. I decided to look into photographers who embrace natural light, Filters, (Digitally) enhanced lighting, in their work.

Joe Cornish:

Cornish is a British photographer who has more than 25 years of photography experience. He is famous for producing beautiful images for the National Trust and well known for his large format landscape photographs. Cornish uses Filters in his work. This image below was produced using filters on the camera. Cornish quotes “Without filtration the sky would have been almost 3 stops brighter than the foreground – that’s almost white! Using two ND Grads allowed precise control of tonal divisions.”

Joe Cornish

(Dunstanburgh Castle, Northumberland, England)