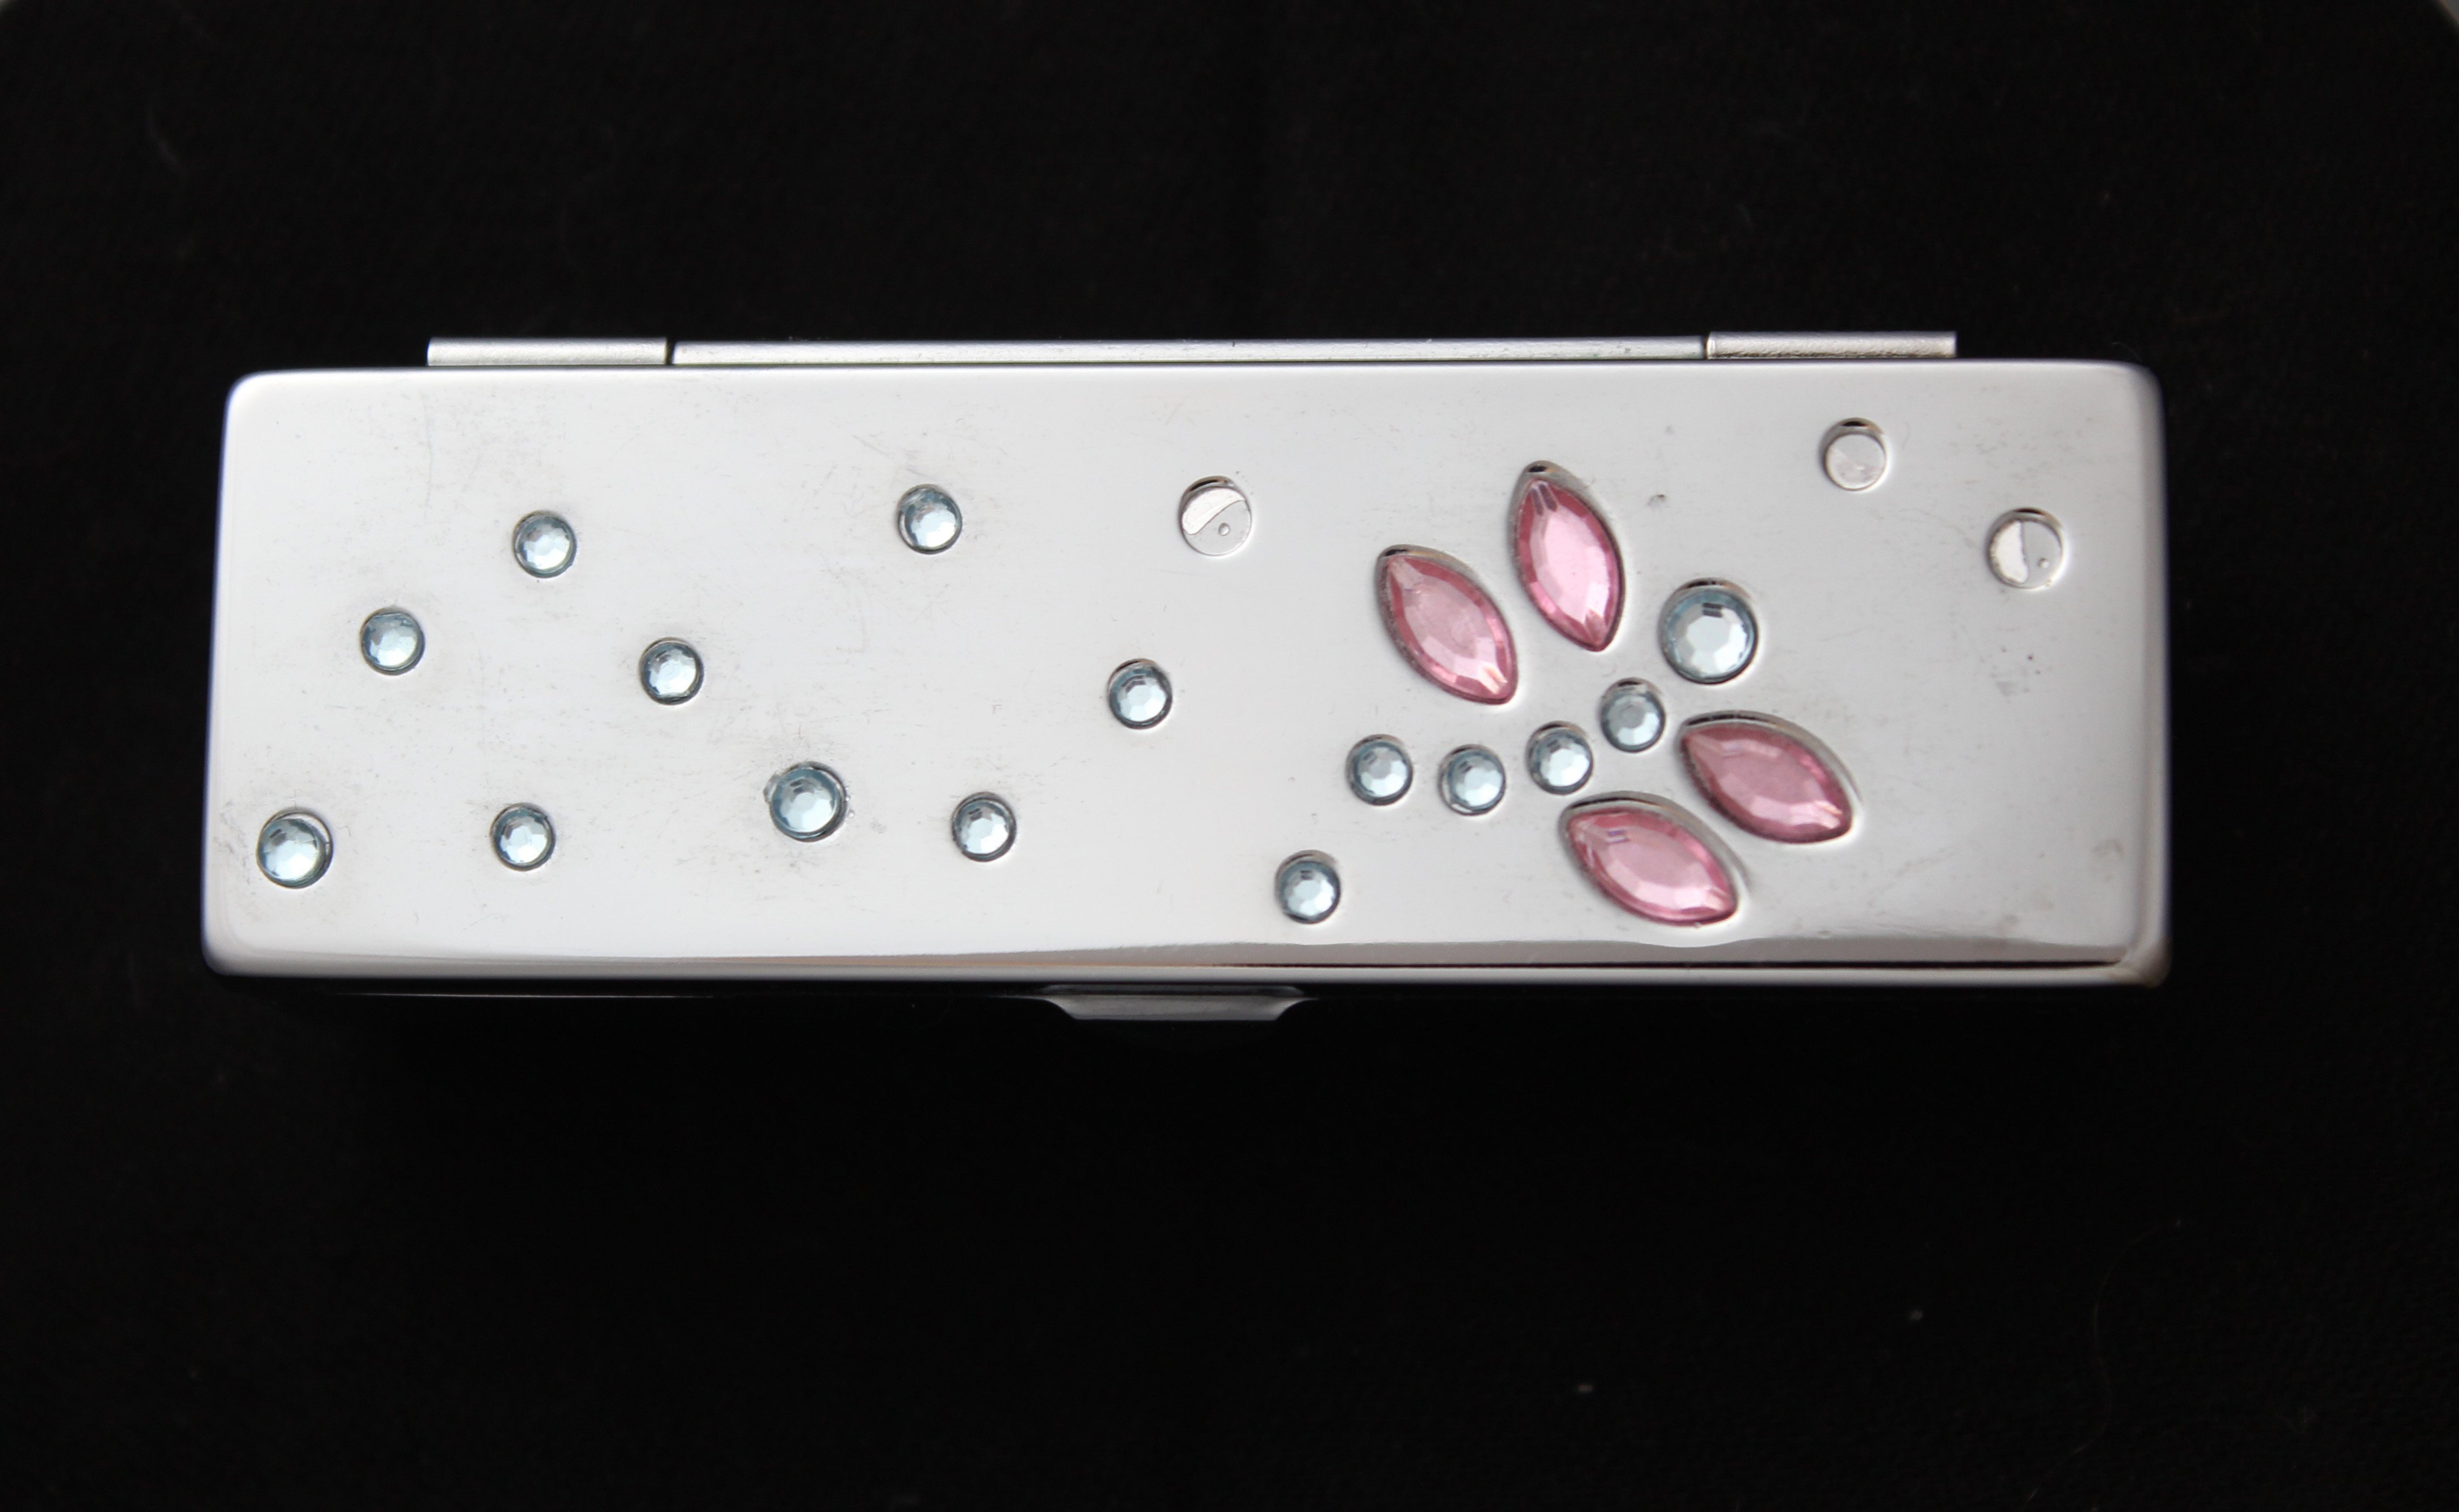
Objects with surfaces that reflect brightly, such as anything of chrome or silver, are a special lighting problem. There are ways of dealing with them that make such a remarkable difference to a photograph that this is a very rewarding exercise to do.
First find an object that is so shiny that you can see your face in it. Choose an object you can lay flat and have the camera above the object. Set up the object, and your camera on a tripod, place a light close to the object. Take the first photograph, you should notice how unsatisfactory the image is.
Roll out a long tube made from tracing paper. Stick it together with tape and cover the shiny object. Attach the other end of the paper tube to your lens and stick it down. Or hold it in place. Then take a photograph. For the next set of photographs, play around with lighting in different positions and distances.
For this set of images, I kept the lighting at approximately 1 foot away from the shiny object. I then moved it right next to the shiny object for the other set of images.
I used settings ISO 200, 1/8 , F/5.6
Natural Light:

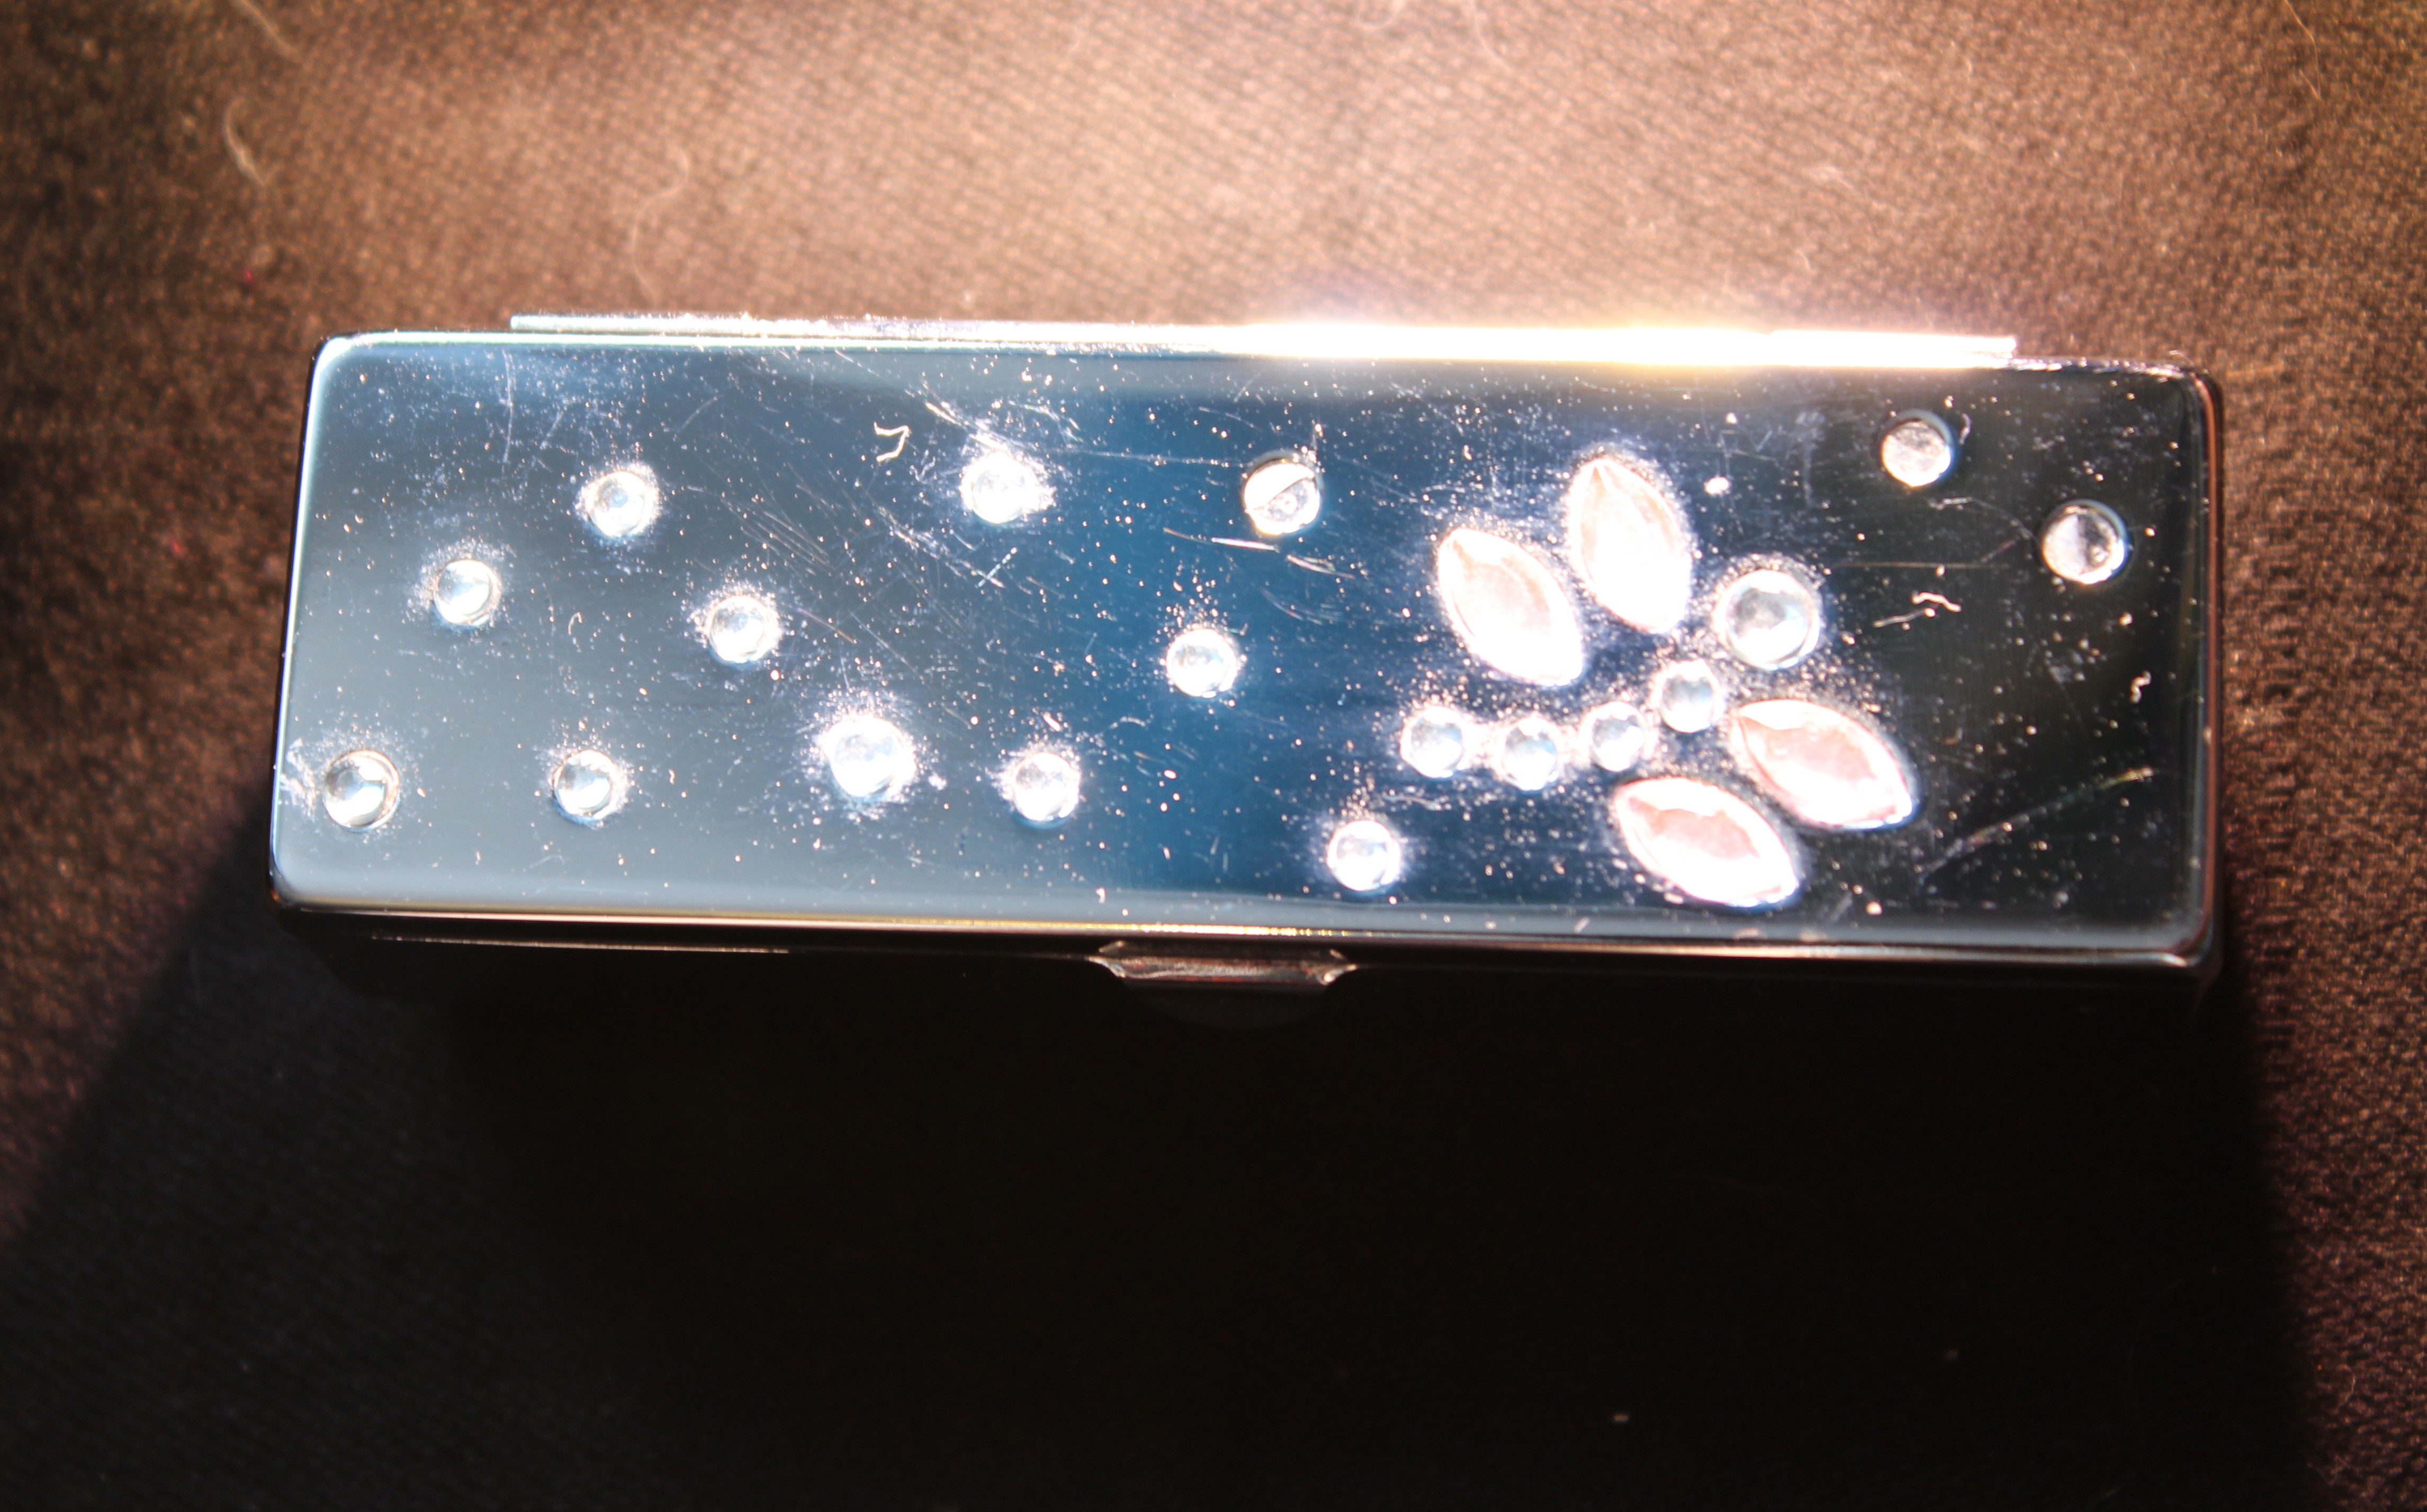
Artificial Light Above Object:

Artificial Light To the Side of the Object:

Artificial Light Behind Object:

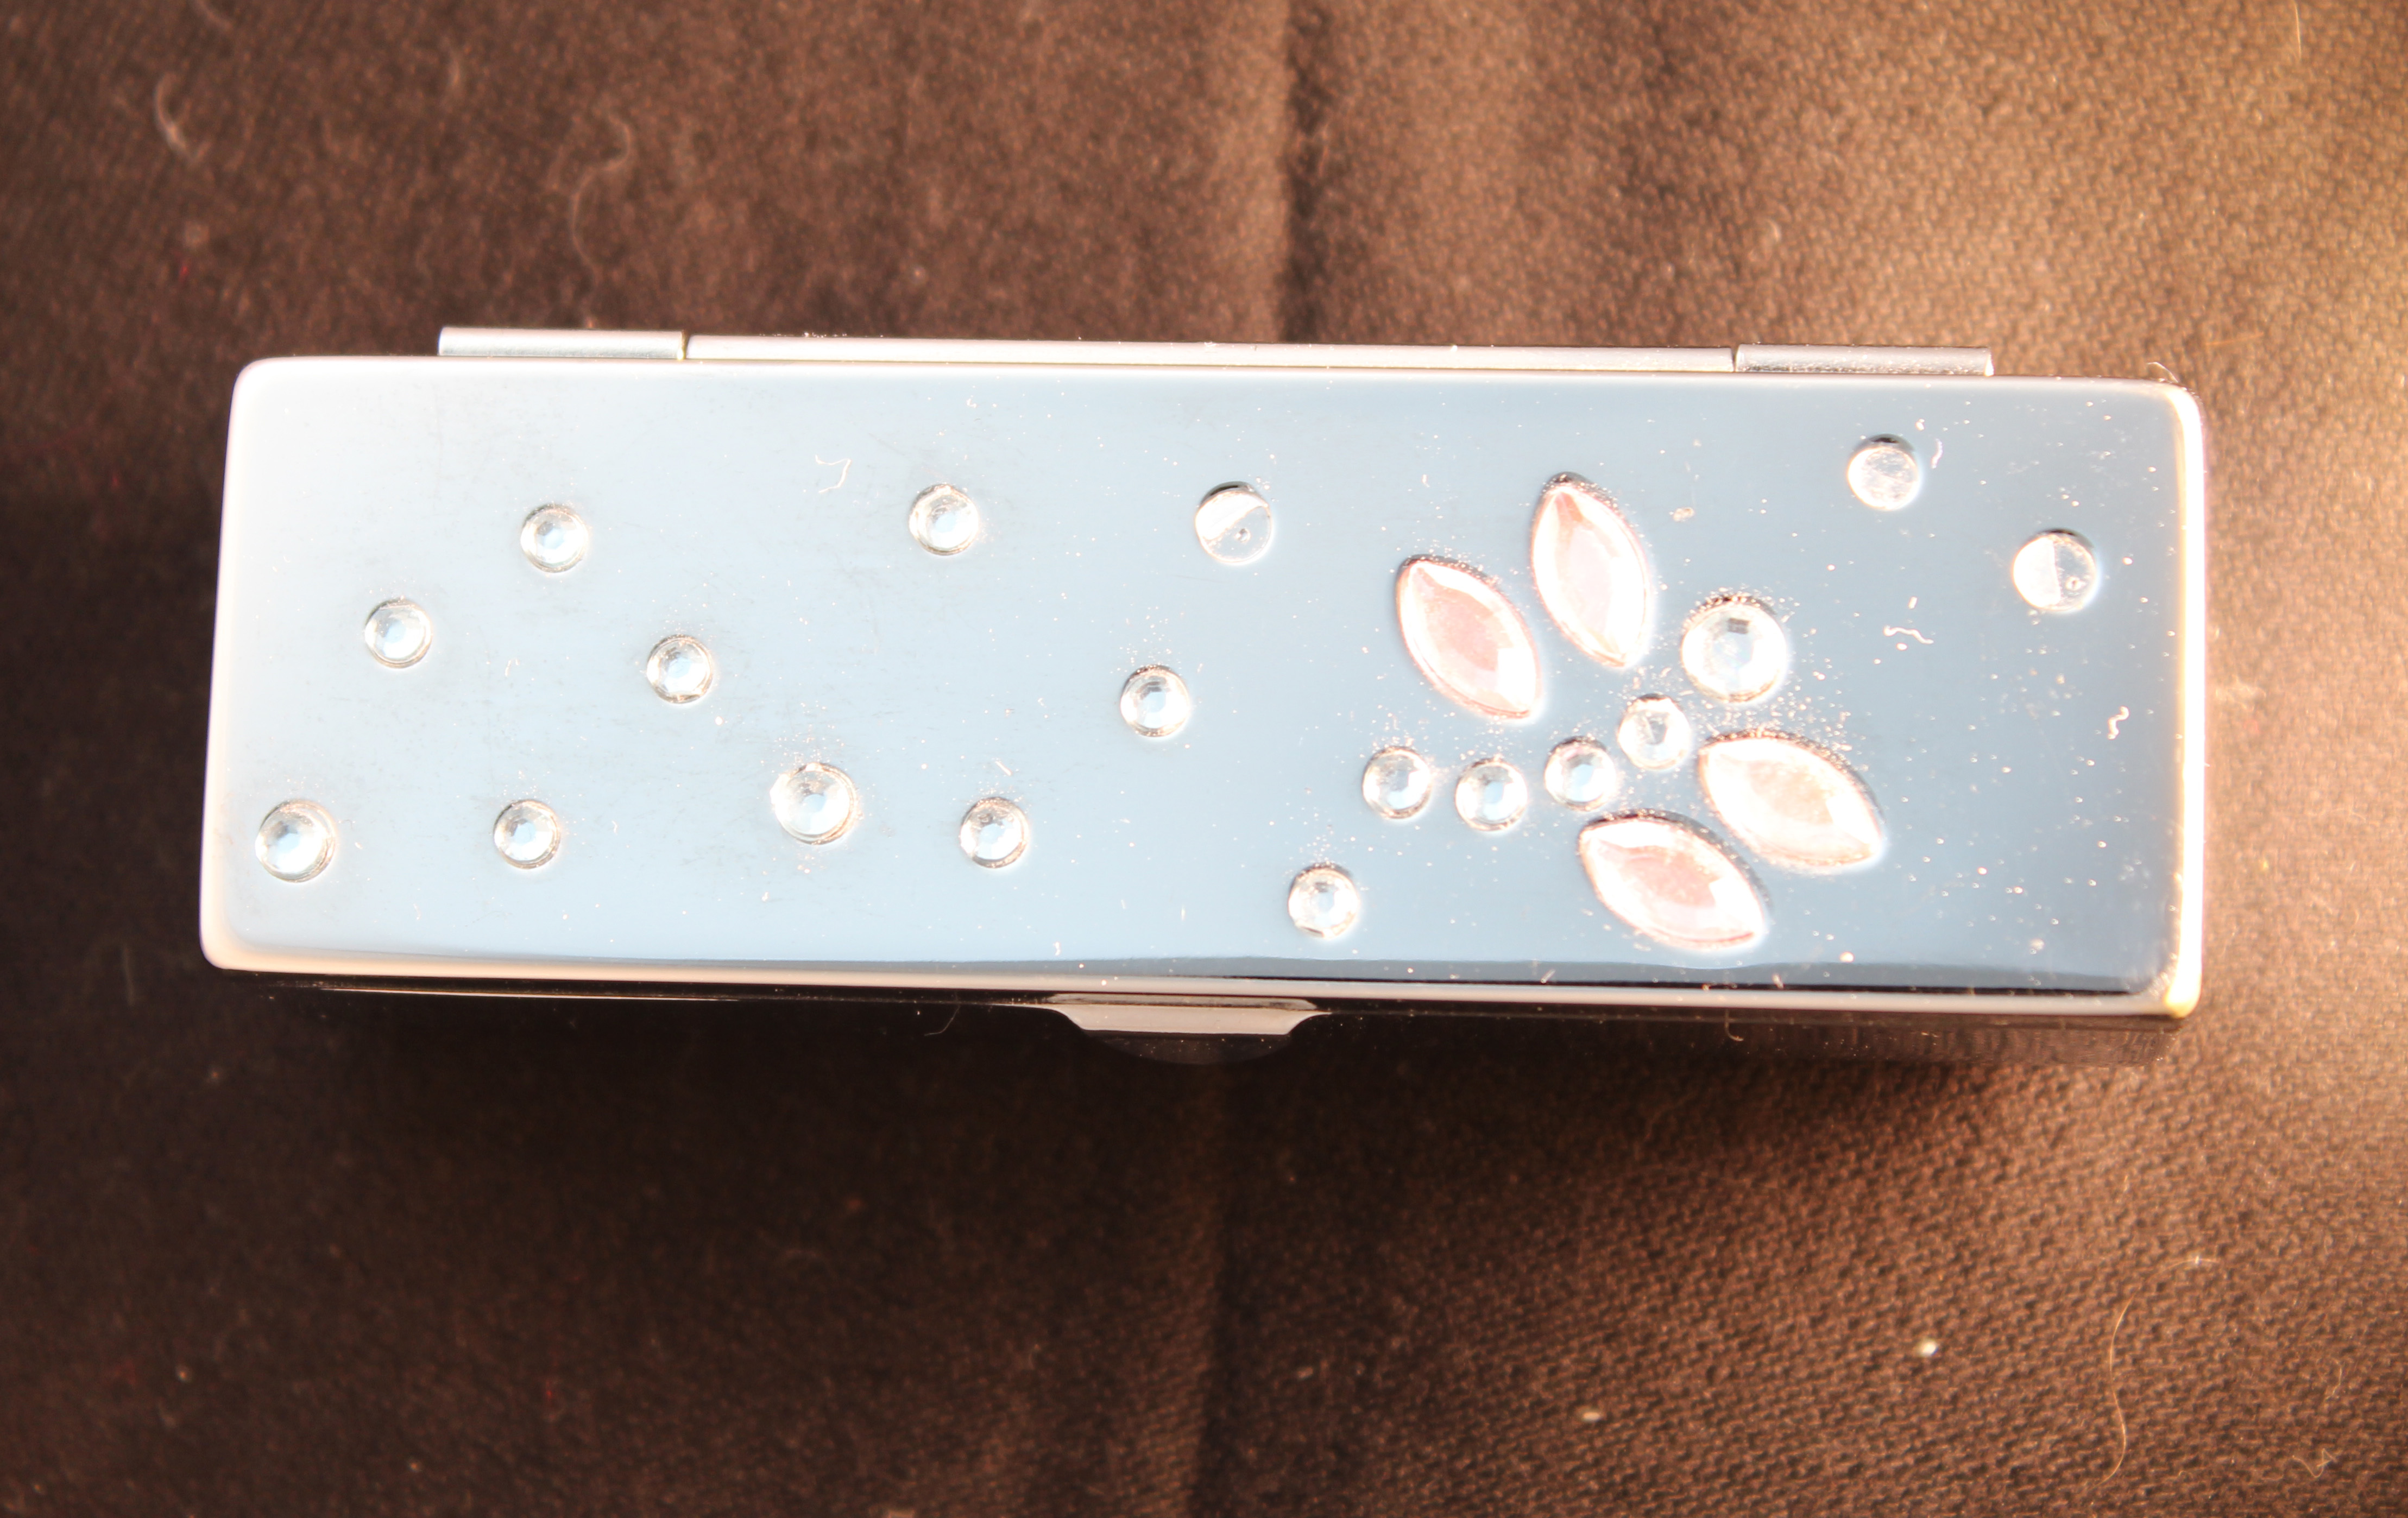
Diffused Light to the side of the Object:

Natural Light with Tracing Paper:
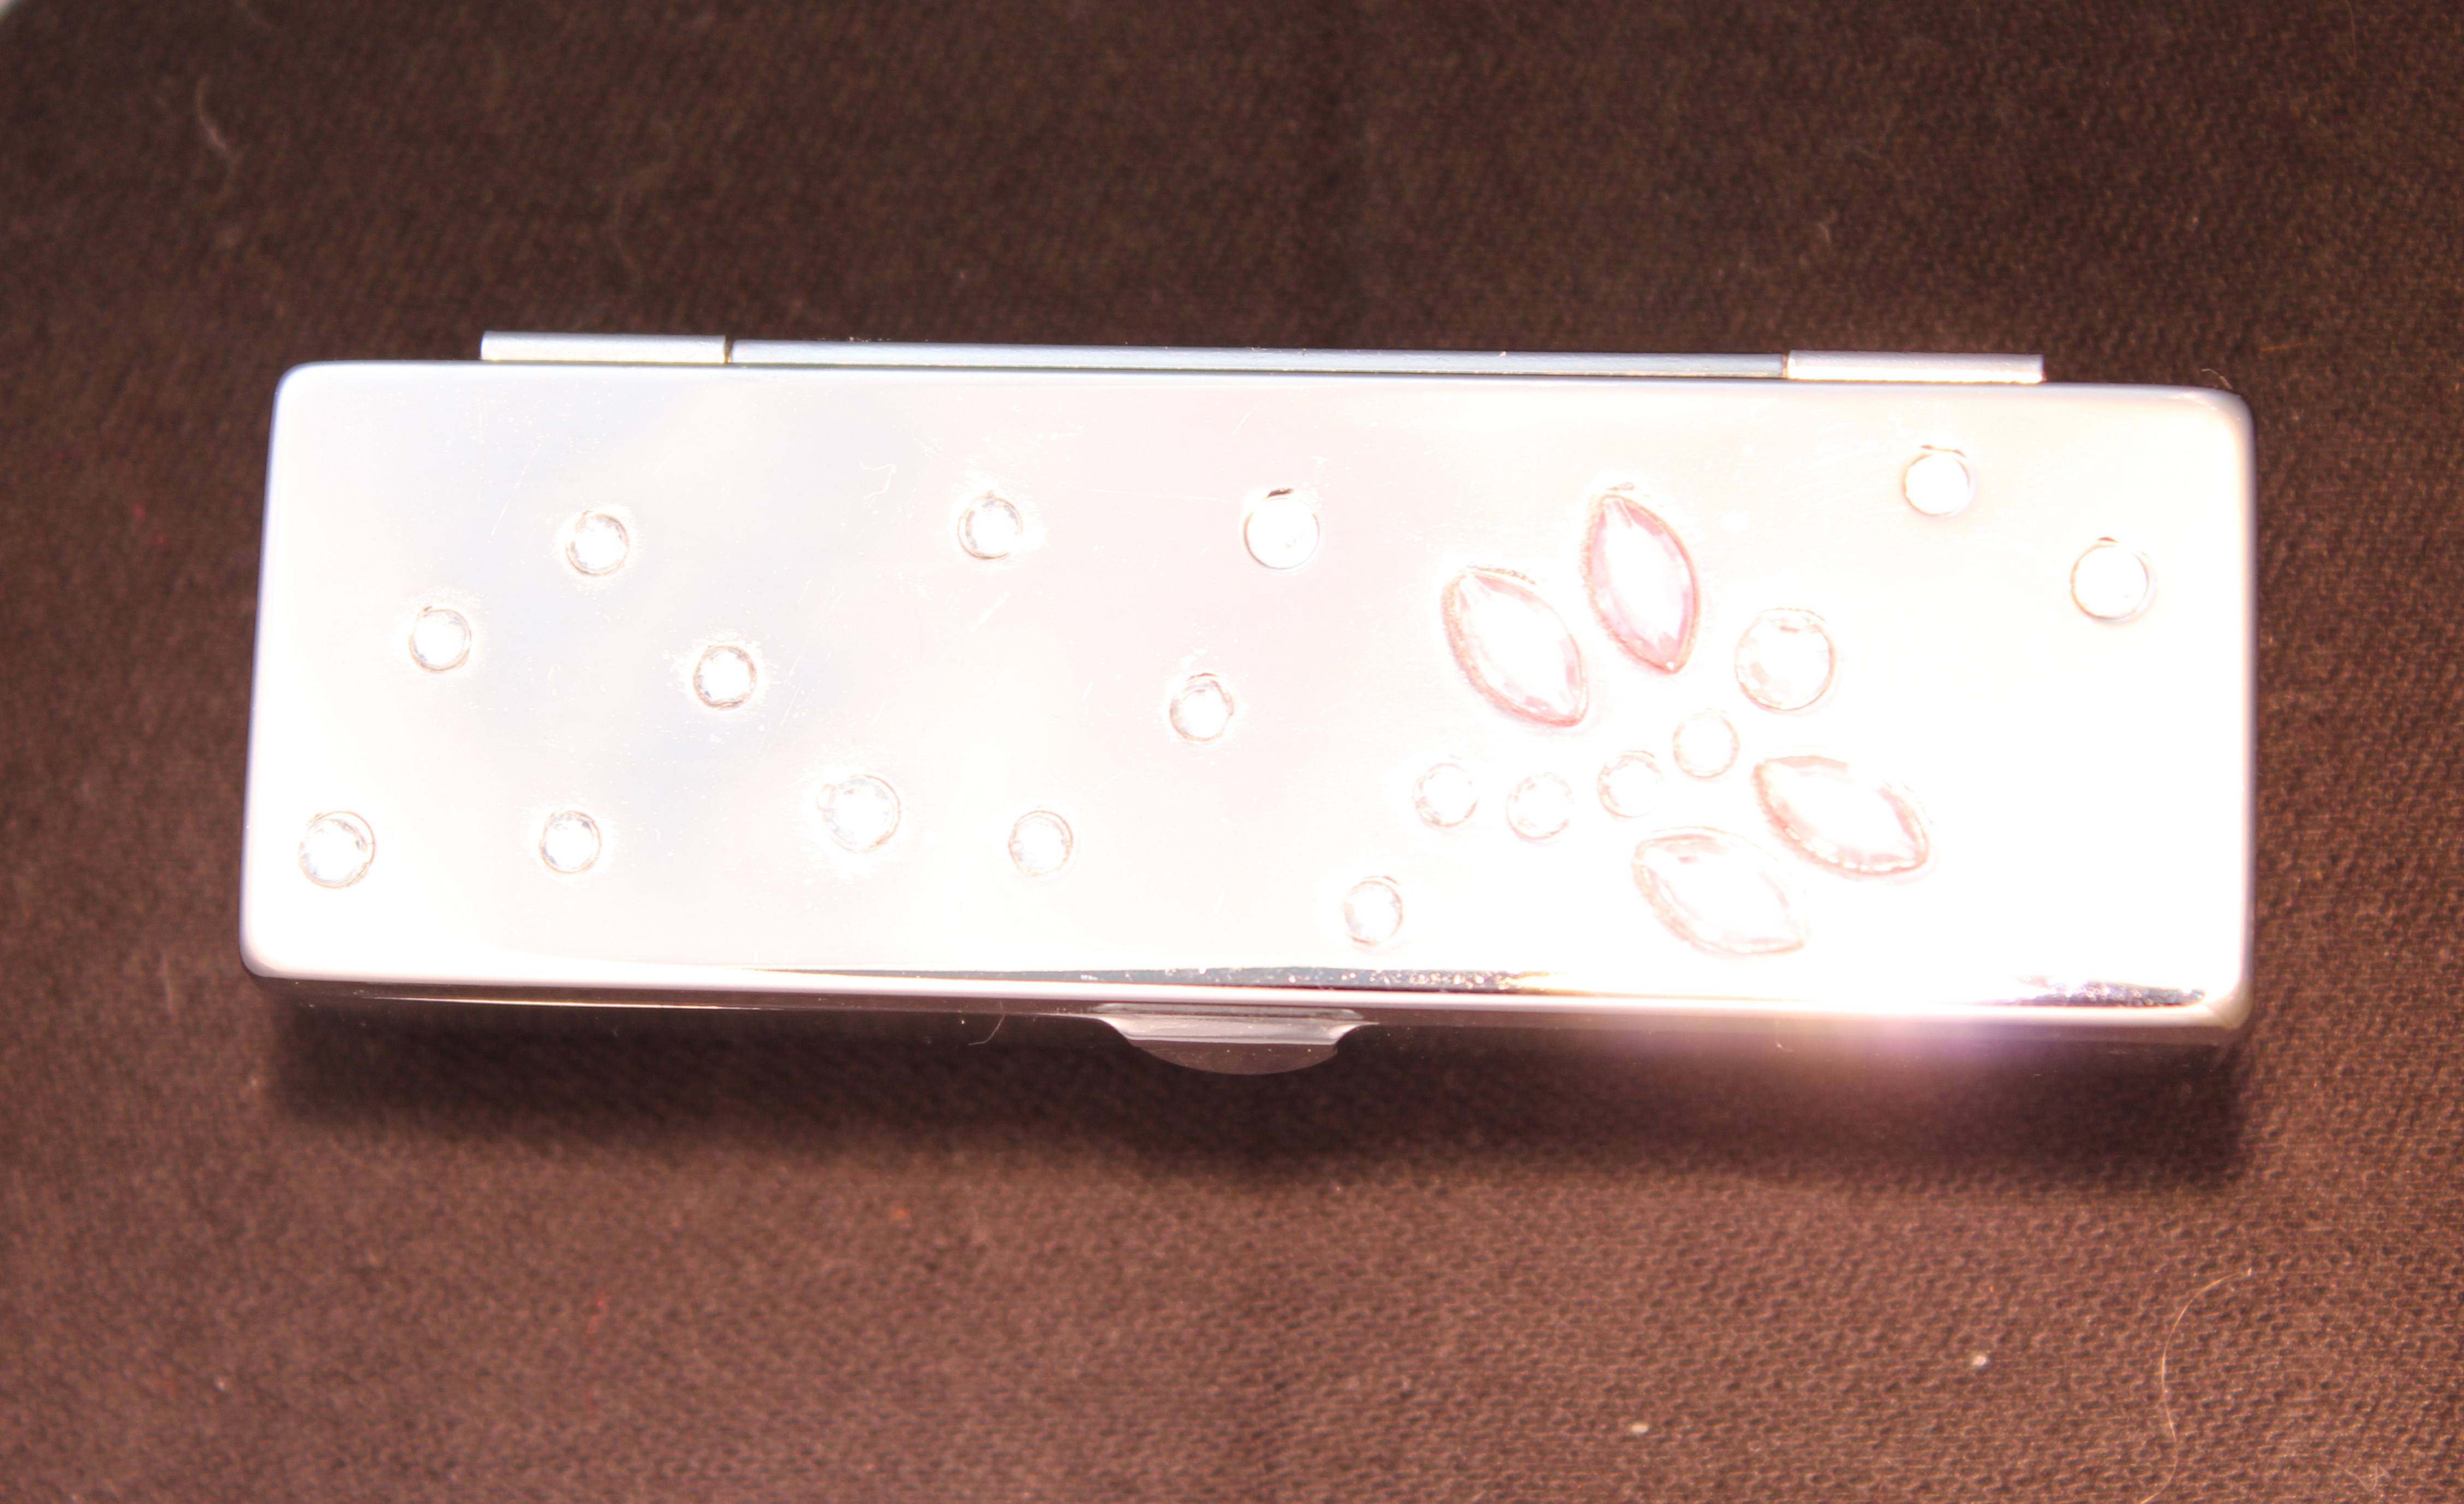
Artificial Light Above Object with Tracing Paper:

Artificial Light Side of Object with Tracing Paper:

Artificial Light Behind Object with Tracing Paper:

Diffused Light Side of Object with Tracing Paper:

Diffused Light Above Object with Tracing Paper:

For the next set of images, I moved the artificial light extremely close to the shiny object.
Artificial Light Above Object:

Artificial Light Side of Object:

Artificial Light Behind Object:
Diffused Light Side of Object:

Diffused Light Above Object:

Artificial Light Above Object With Paper:
Artificial Light Side of Object With Paper:
Artificial Light Behind Object With Paper:

Diffused Light Side of Object With Paper:

Diffused Light Behind Object With Paper:

Overall Opinion:
The set of images taken with no tracing paper, give the ‘shiny’ surface a more dull tone. Whereas you can instantly see the difference with the images taken with the tracing paper. The shiny object becomes even more shiny and a lot brighter overall.
My overall favourite for this exercise would have to be the images taken with the diffused light with tracing paper. The lighting isn’t harsh like with the artificial light. You are able to see the detail with the stones clearer, and the metal is shiny overall.
