This exercise was designed to help you understand shutter speed.Understanding how shutter speed can affect your final photograph. A fast shutter speed will keep your image sharp, where as a slower shutter speed will show the movement.
For this exercise, you were asked to find something that moves several times or continuously, such as water or someone riding a bike.
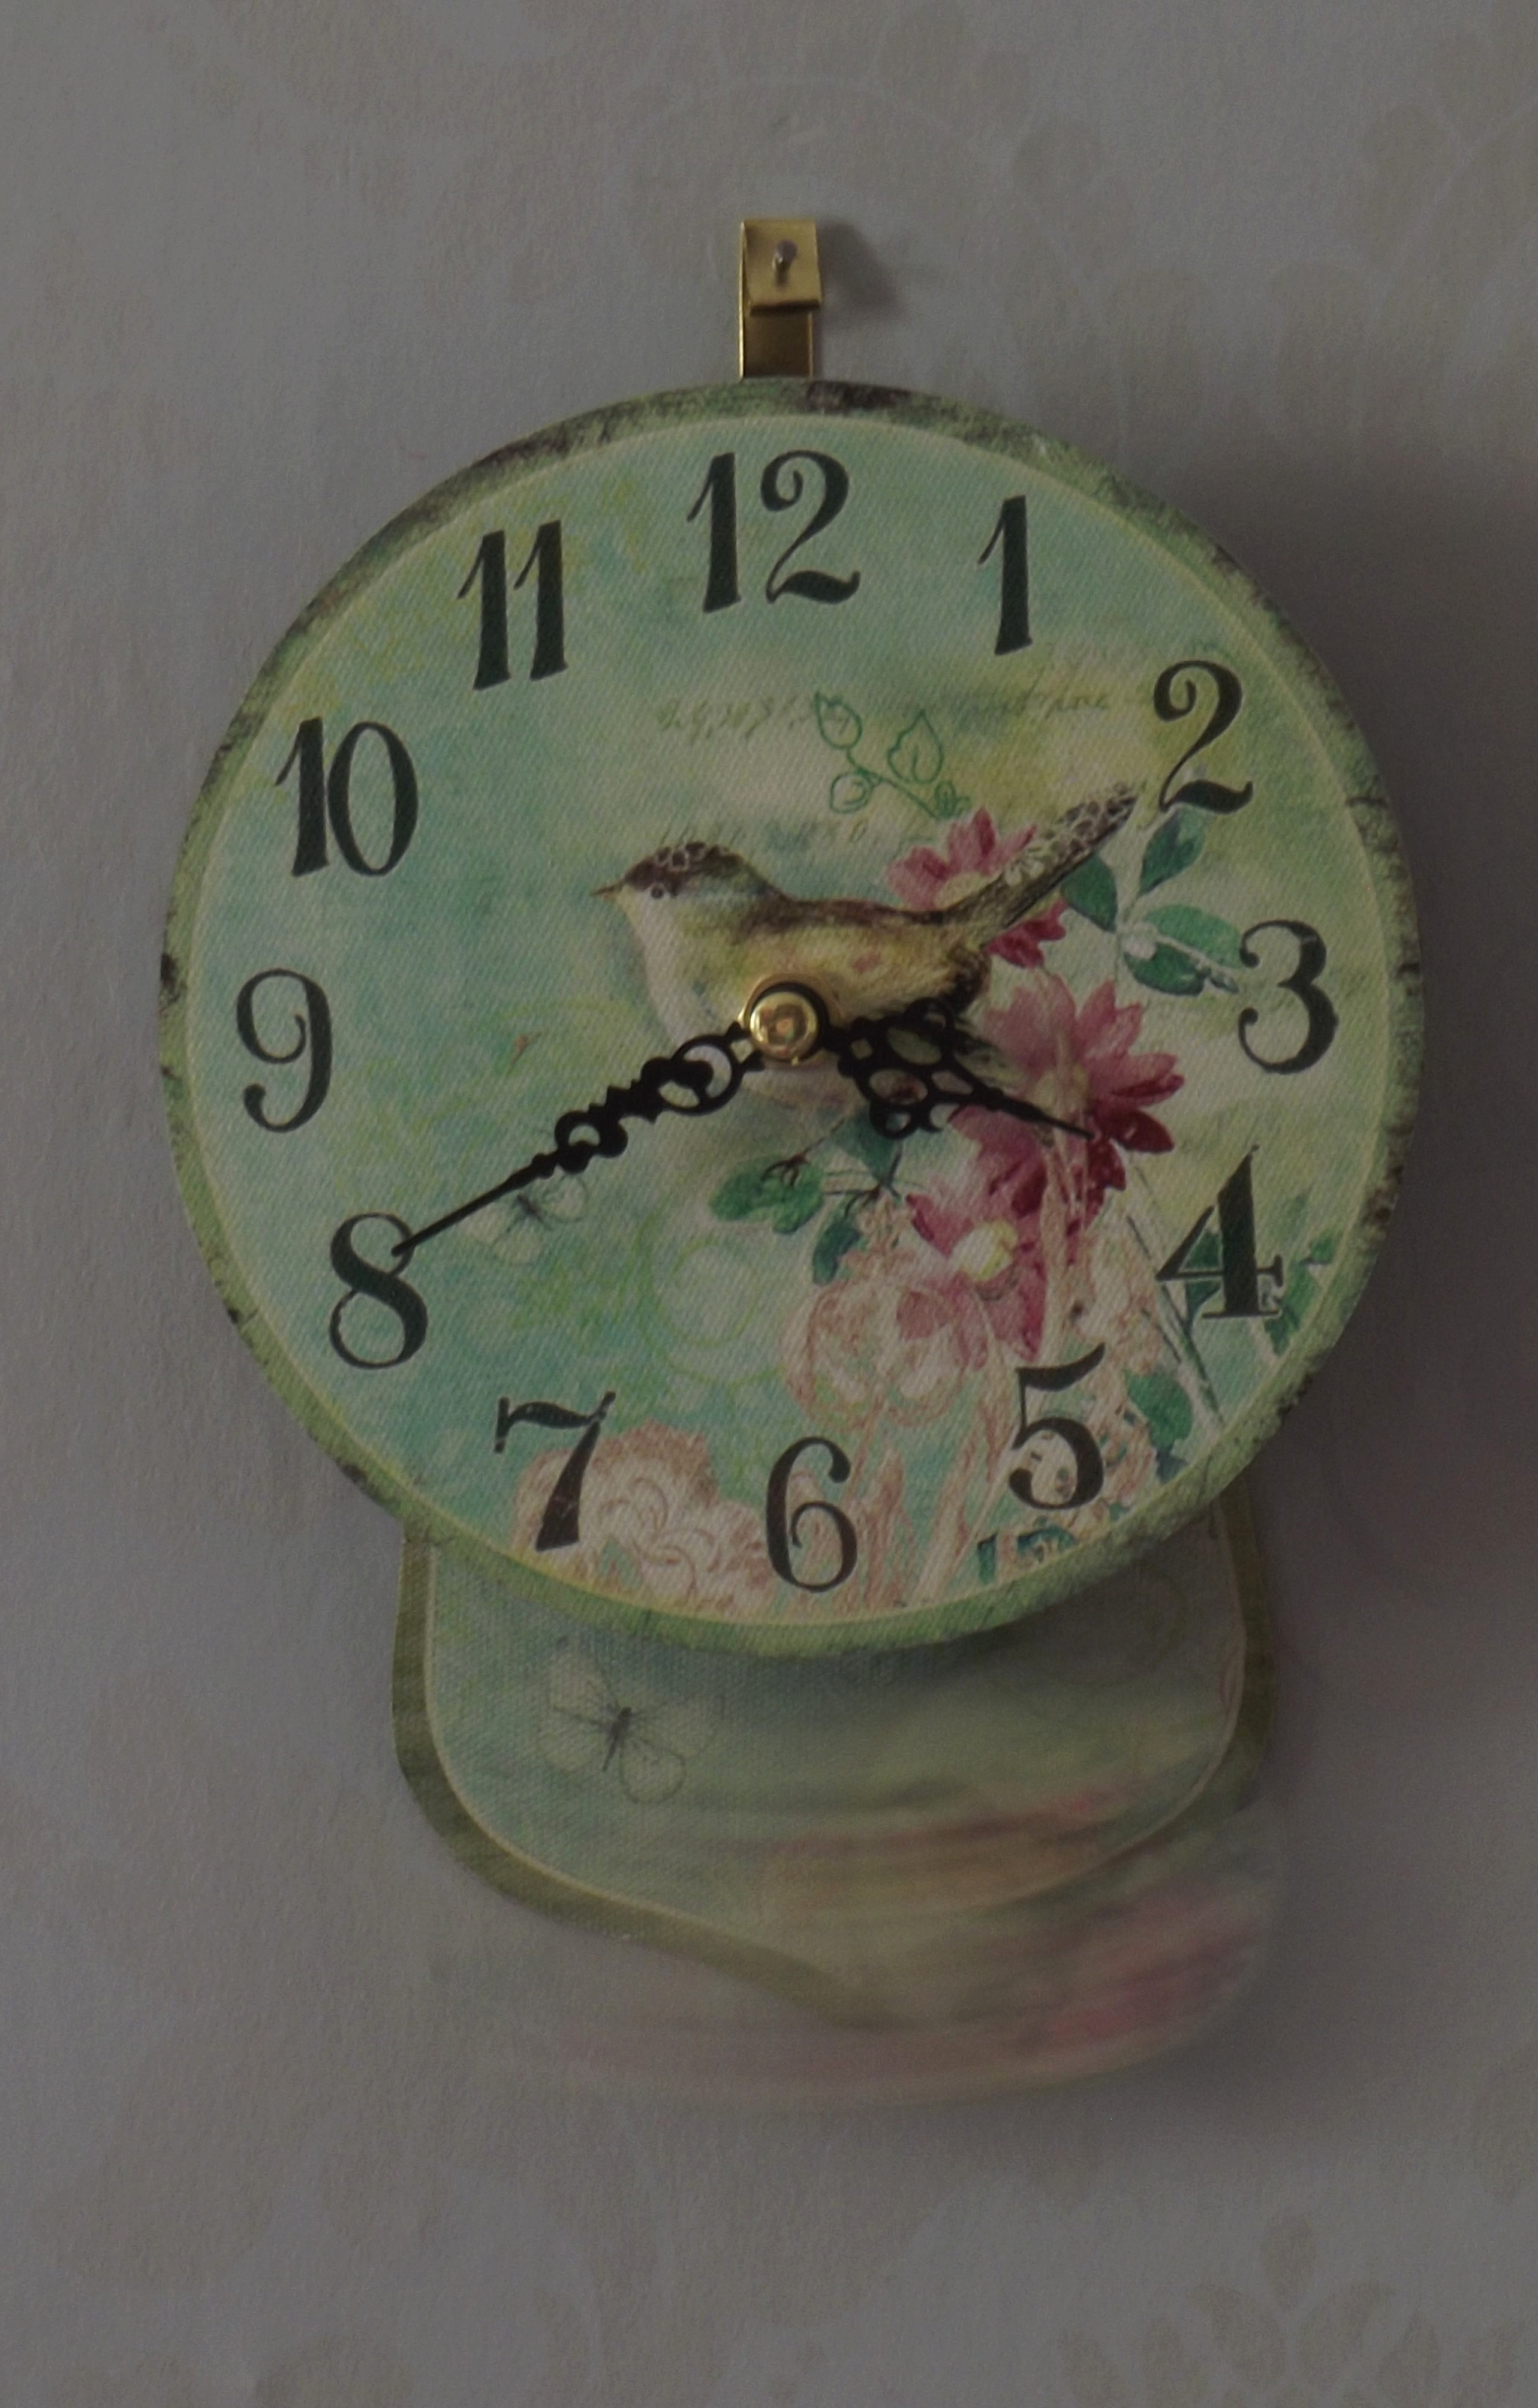
I chose my clock which has a moving pendulum. I set my tripod up and angled the camera so the clock fitted central in the frame.
I began taking the series of photographs with the slowest shutter speed and went up to the fastest shutter speed.
I set my camera on the Shutter speed setting. This allowed me to manually change my shutter speed, whilst letting the camera automatically change the ISO and Aperture.
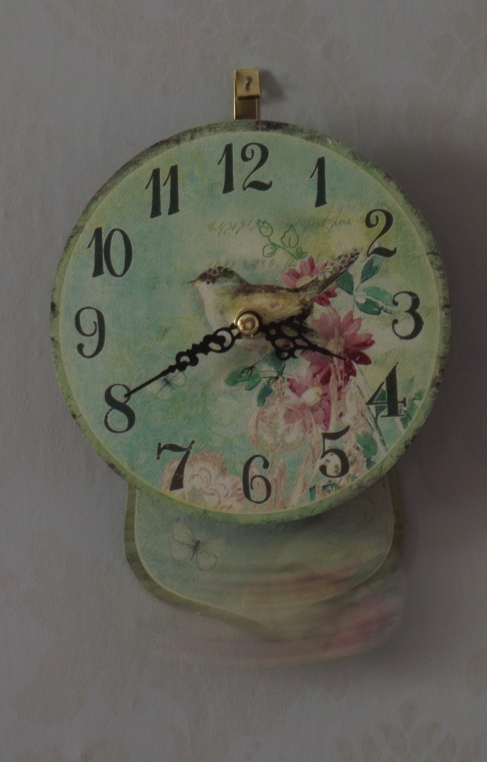
First Photograph:

The first photograph was taken using
Shutter Speed: 0.8sec
ISO: 64
Aperture: F/10
As you can see, using the slowest shutter speed will deliberately show the movement. The pendulum is blurred and you can hardly see the outline of the circular pendulum.
Second Photograph:
The second photograph was taken using
Shutter Speed: 1/2sec
ISO: 64
Aperture: F/10
As you can see, using 1/2sec shutter speed, the pendulum is still blurred, however, you can begin seeing the outline of the circular pendulum.
Third Photograph:

The third photograph was taken using
Shutter Speed: 1/4sec
ISO: 80
Aperture: F/10
As you can see, using 1/4sec shutter speed, still shows the movement, however, you are beginning to see the outline of the circular pendulum and the pattern on it.
Fourth Photograph:

The fourth photograph was taken using
Shutter Speed: 1/10sec
ISO: 125
Aperture: F/5.2
As you can see, using 1/10sec shutter speed, still shows the movement, however, you are able to see the outline of the circular pendulum and the pattern more clearly.
Fifth Photograph:
The fifth photograph was taken using
Shutter Speed: 1/15sec
ISO: 200
Aperture: F/5.2
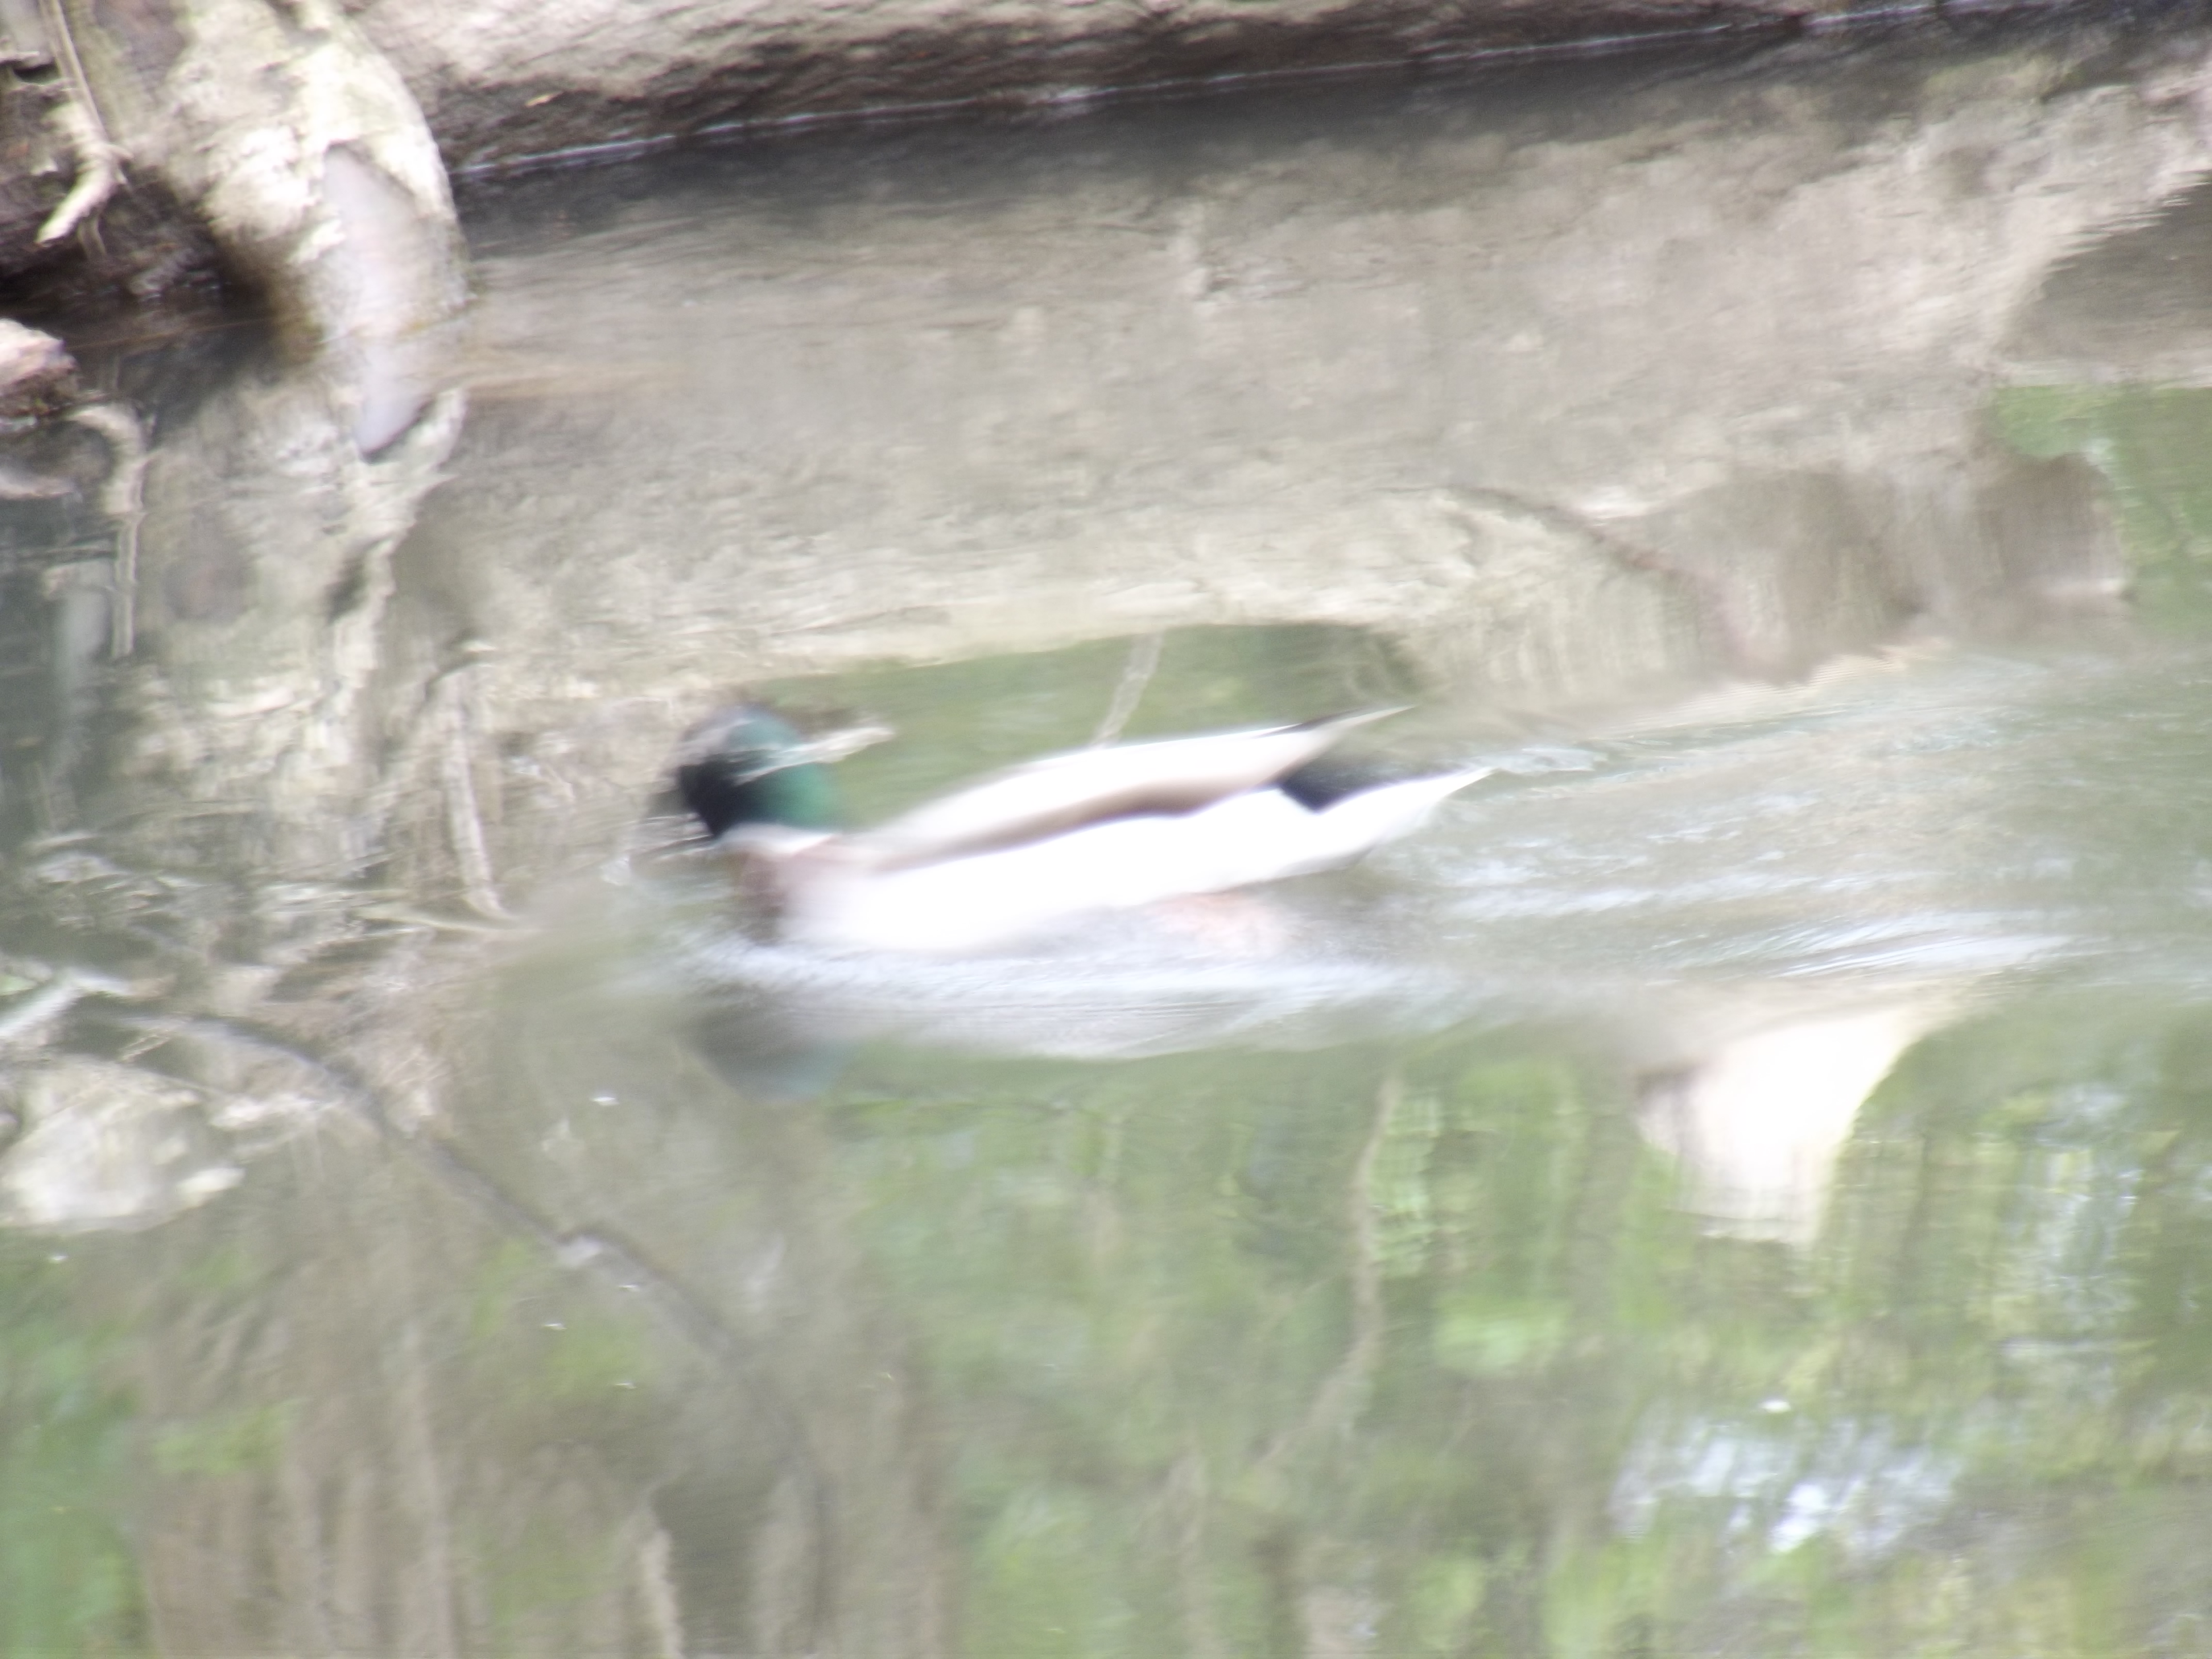
As you can see, using 1/15sec shutter speed, still shows the movement. Unlike the previous photograph, this one shows the movement more, yet the shutter speed is faster which means the image should be frozen more, not show more movement.
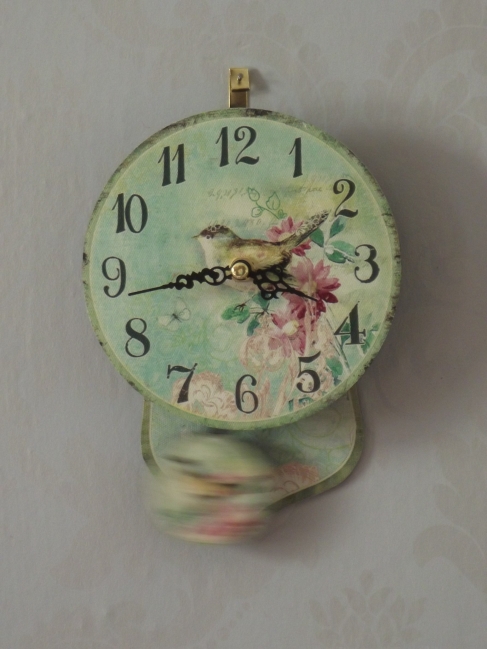
Sixth Photograph:

The sixth photograph was taken using
Shutter Speed: 1/20sec
ISO: 400
Aperture: F/5.2
As you can see, using 1/20sec shutter speed, the pendulum is frozen in movement. However, there is a slight blur.
Seventh Photograph:

The seventh photograph was taken using
Shutter Speed: 1/60sec
ISO: 250
Aperture: F/5.2
As you can see, using 1/60sec shutter speed, the pendulum is frozen in movement. There is only a slight blur around the edges of the circle.
Eighth Photograph:

The eighth photograph was taken using
Shutter Speed: 1/100sec
ISO: 400
Aperture: F/5.2
As you can see, using 1/100sec shutter speed, the pendulum is completely frozen in motion. There is no blur to the circular pendulum. The one thing I would change about this image is the brightness. It is too dark for you to see the pendulum clearly.
Overall Opinion:
I really enjoyed this exercise. It took me a while to understand how to change my shutter speeds correctly and balance that with the aperture and iso settings. I used the shutter speed priority setting which allowed me to then only focus on the shutter speed whilst the camera changed the rest for me.
I used my tripod for this exercise as it allowed me to stop any camera shake.
After looking at the final photographs in sequence, you can definitely see how the slowest shutter speed blurs movement and how the faster shutter speed freezes the movement.
My favourite photograph from the sequence would have to be the fourth photograph using 1/10sec. I really like how you can see the image of the pendulum apperaring clearer yet you can still see the movement.
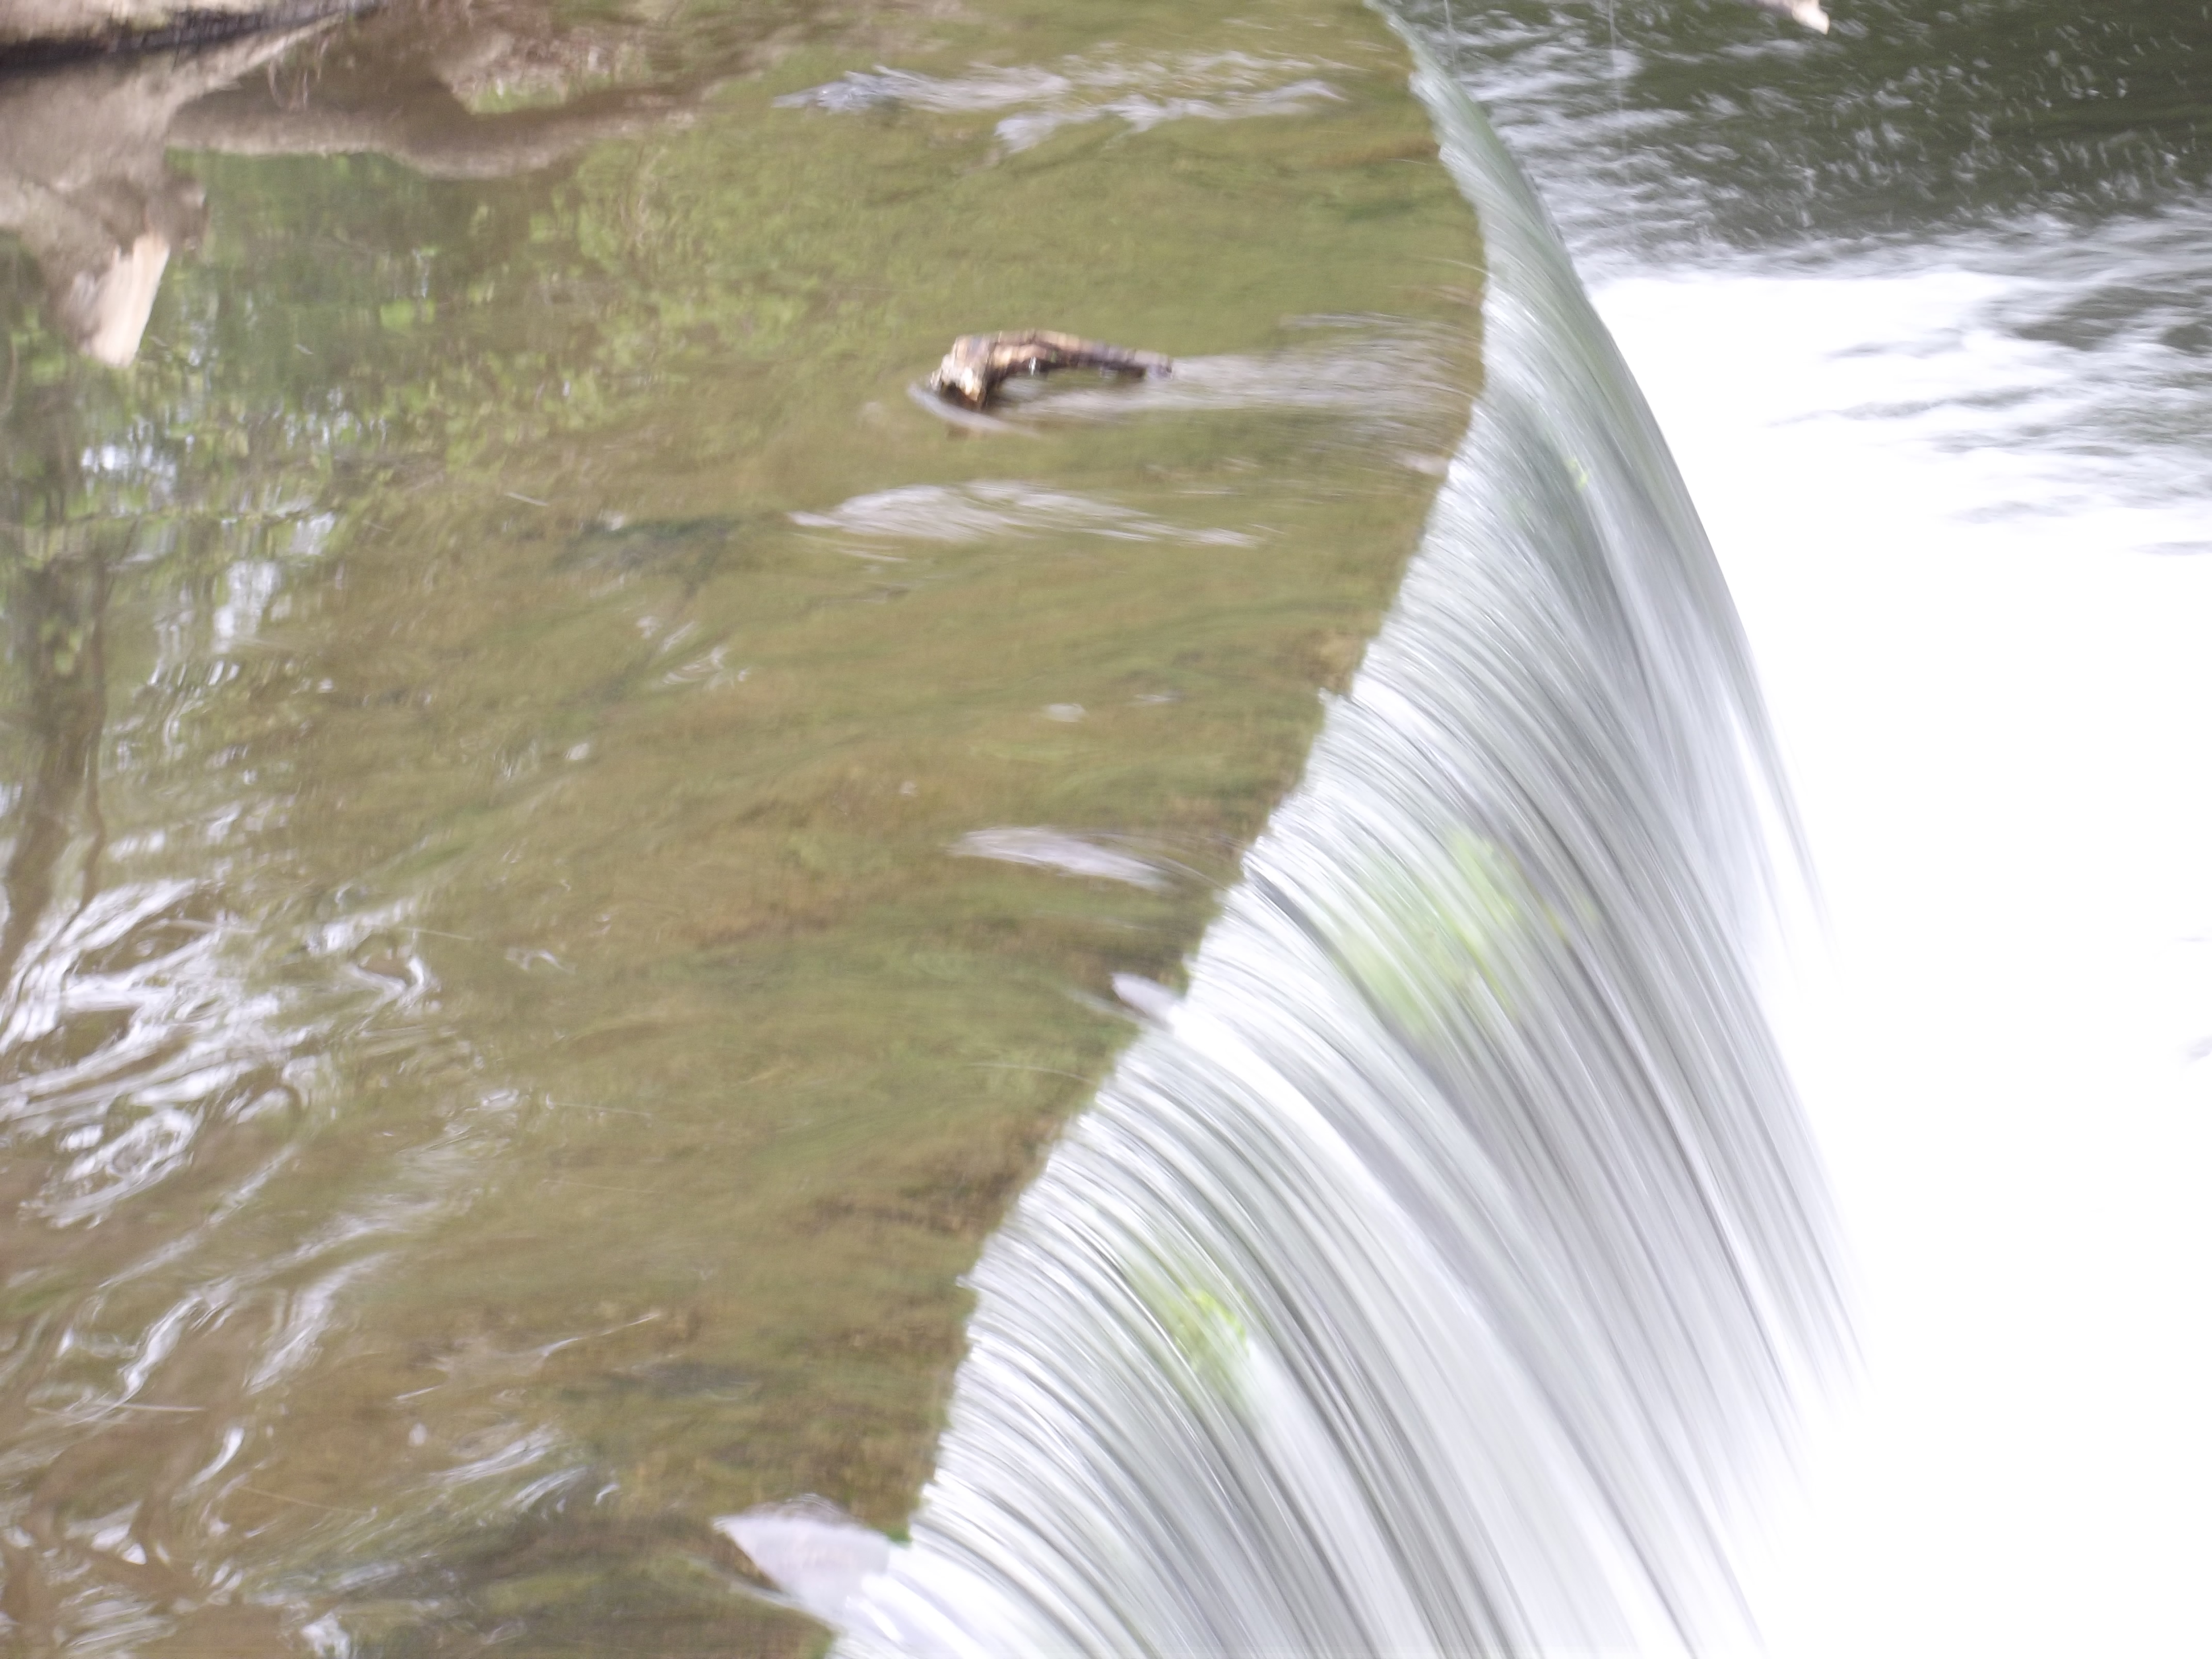
Because I enjoyed this exercise, I decided to try a different setting to see whether or not changing the shutter speed could create an even more interesting photograph. I decided to use a waterfall.
Like the clock, I began with the Slowest shutter speed up to the Fastest shutter speed.
First Photograph:

The first photograph was taken using
Shutter Speed: 1/4sec
ISO: 64
Aperture: F/10
As you can see, using the 1/4sec shutter speed, the water is completely blurred and whitened.
Second Photograph:

The second photograph was taken using
Shutter Speed: 1/6sec
ISO: 64
Aperture: F/10
As you can see, using the 1/6sec shutter speed, the water is completely blurred and whitened, however, you can now begin to see the water in the background becoming more clearer.
Third Photograph:

The third photograph was taken using
Shutter Speed: 1/8sec
ISO: 64
Aperture: F/10
As you can see, using the 1/8sec shutter speed, the water is still blurred and white, however, the waterfall is becoming more defined. You can see lines of white rather than a large white blur. You can see how the movement is beginning to slow.
Fourth Photograph:

The fourth photograph was taken using
Shutter Speed: 1/10sec
ISO: 64
Aperture: F/10
As you can see, using the 1/10sec shutter speed, the water is still blurred and whitened, however, the lines are gradually becoming more defined in the waterfall.
Fifth Photograph:

The fifth photograph was taken using
Shutter Speed: 1/15sec
ISO: 200
Aperture: F/10
As you can see, using the 1/15sec shutter speed, the water is still white, however, the lines are becoming more defined and you can begin to see the movement more.
Sixth Photograph:

The sixth photograph was taken using
Shutter Speed: 1/30sec
ISO: 200
Aperture: F/10
As you can see, using the 1/30sec shutter speed, the water is still white, however, you can see the movement freezing more.
Seventh Photograph:

The seventh photograph was taken using
Shutter Speed: 1/250sec
ISO: 200
Aperture: F/5
As you can see, using the 1/250sec shutter speed, the water is now more clearer and the movement is becoming more frozen.
Eighth Photograph:

The eighth photograph was taken using
Shutter Speed: 1/640sec
ISO: 400
Aperture: F/5
As you can see, using the 1/640sec shutter speed, the water is completely frozen in movement with only a small amount of blured movement at the bottom.
Overall Opinion:
Using the waterfall gave me the opportunity to show how the change in shutter speed really works. Water allowed me to show how slow shutter speeds can completely blur the image and change the colour to white. You are able to see the movement better when using water as water is a more constant movement than a pendulum on a clock.
My favourite photograph from this series would be the sixth photograph as it shows the movement, however, you can see how it is beginning to freeze. I like how the water is blurred white.
This exercise taught me how to use my shutter speed setting. I will be more confident when taking photographs of moving objects. I will be able to use the techniques I have learnt, to create photographs with movement or frozen movement.